
How to Remove Mold and Mildew From Bathroom Caulk (8 Methods)
The bathroom caulk in my first apartment was solid black with mold when I moved in. I tested every method under real conditions on genuinely established mold. Here's what actually worked and the one step most people skip after cleaning that allows mold to return within weeks.
Jump to a section
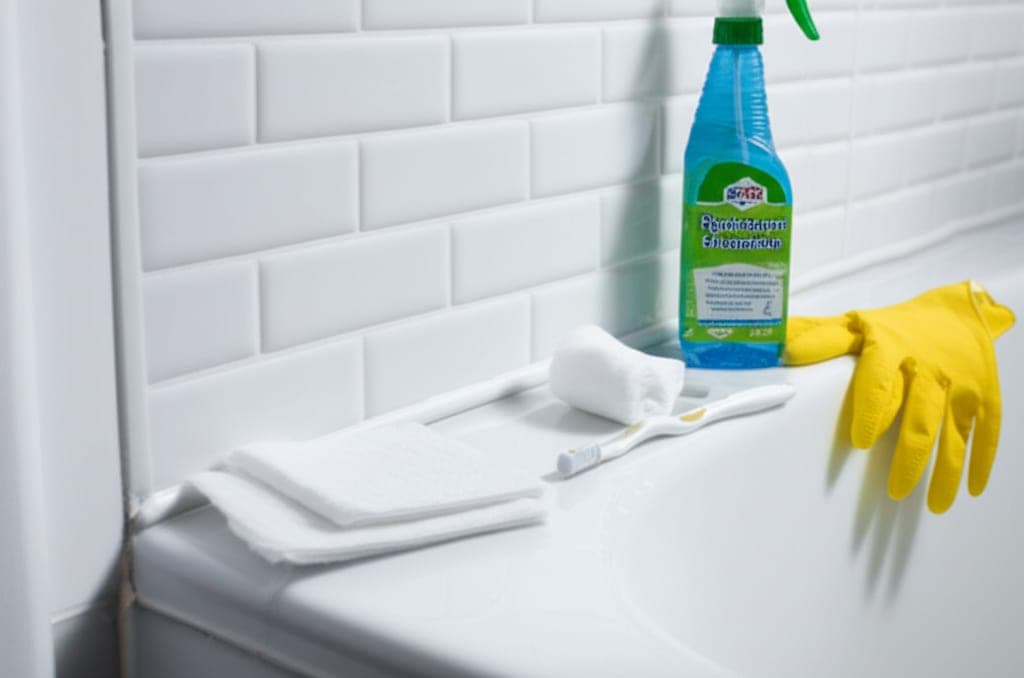
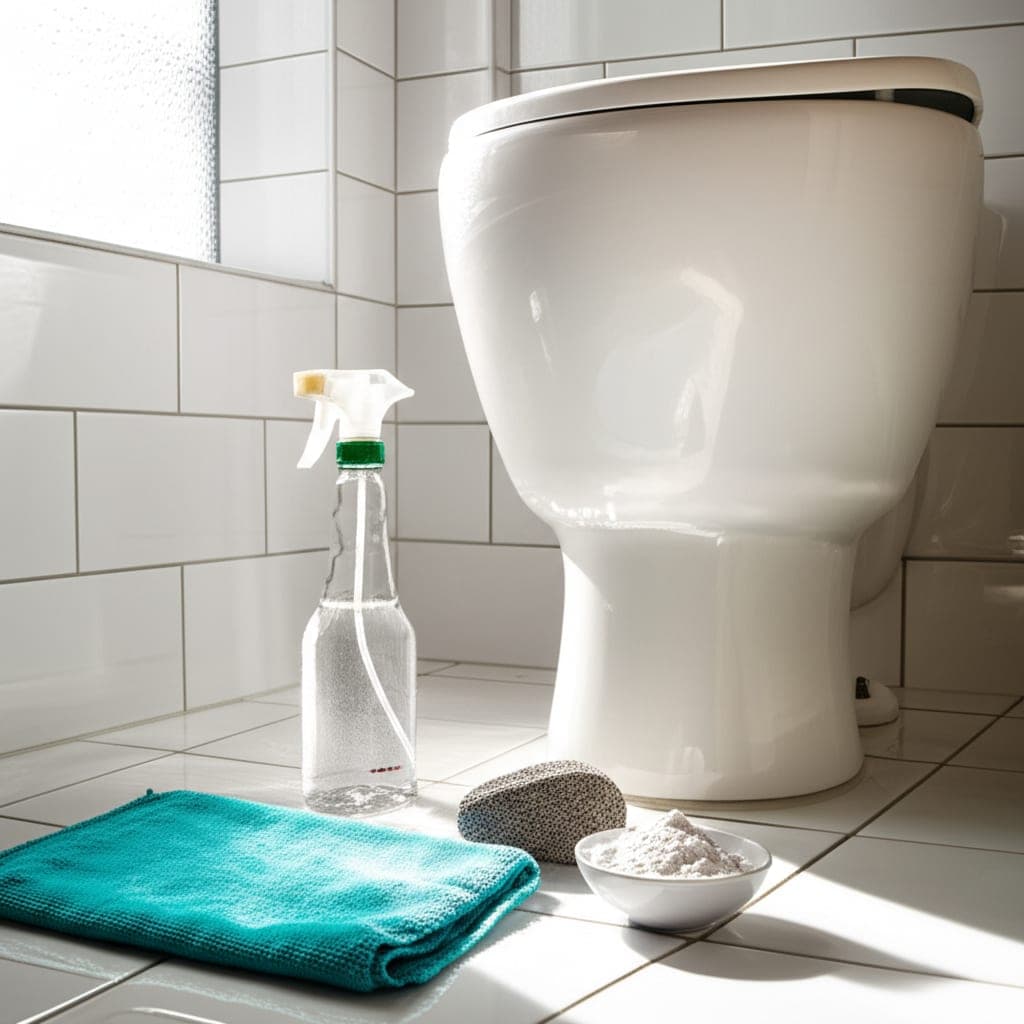
What You'll Need
Step-by-Step Instructions
Understand why mold grows on bathroom caulk
Mold and mildew thrive in warm, damp environments with limited air circulation making bathroom caulk one of the most vulnerable surfaces in your home. Silicone and latex caulk around showers, tubs, and sinks stays wet for hours after each use, creating ideal growing conditions. The slightly textured surface of caulk gives mold spores a foothold that smooth tiles do not. Once established, the mold sends roots (hyphae) into the caulk material itself, which is why surface scrubbing alone often fails to remove the dark discoloration completely. Black mold on caulk is typically Cladosporium or Stachybotrys both can trigger allergic reactions and respiratory issues with prolonged exposure. Addressing mold promptly and reducing bathroom moisture are equally important for long-term control.
Method 1 Bleach-soaked cotton strip treatment
This is the most effective method for deeply embedded black mold on white caulk. Twist cotton balls or roll paper towels into thin strips and soak them in undiluted household bleach. Press the soaked strips directly onto the moldy caulk lines, ensuring full contact. Leave them in place for two to four hours or overnight for severe mold. The extended contact time allows the bleach to penetrate the caulk surface and kill mold roots beneath the visible discoloration. Remove the strips, scrub lightly with an old toothbrush, and rinse with water. The caulk should appear significantly whiter. This method works because keeping the bleach pressed against vertical caulk lines prevents it from running off before it can work. Always ventilate the bathroom by running the exhaust fan and opening a window during this treatment.
Method 2 Hydrogen peroxide spray
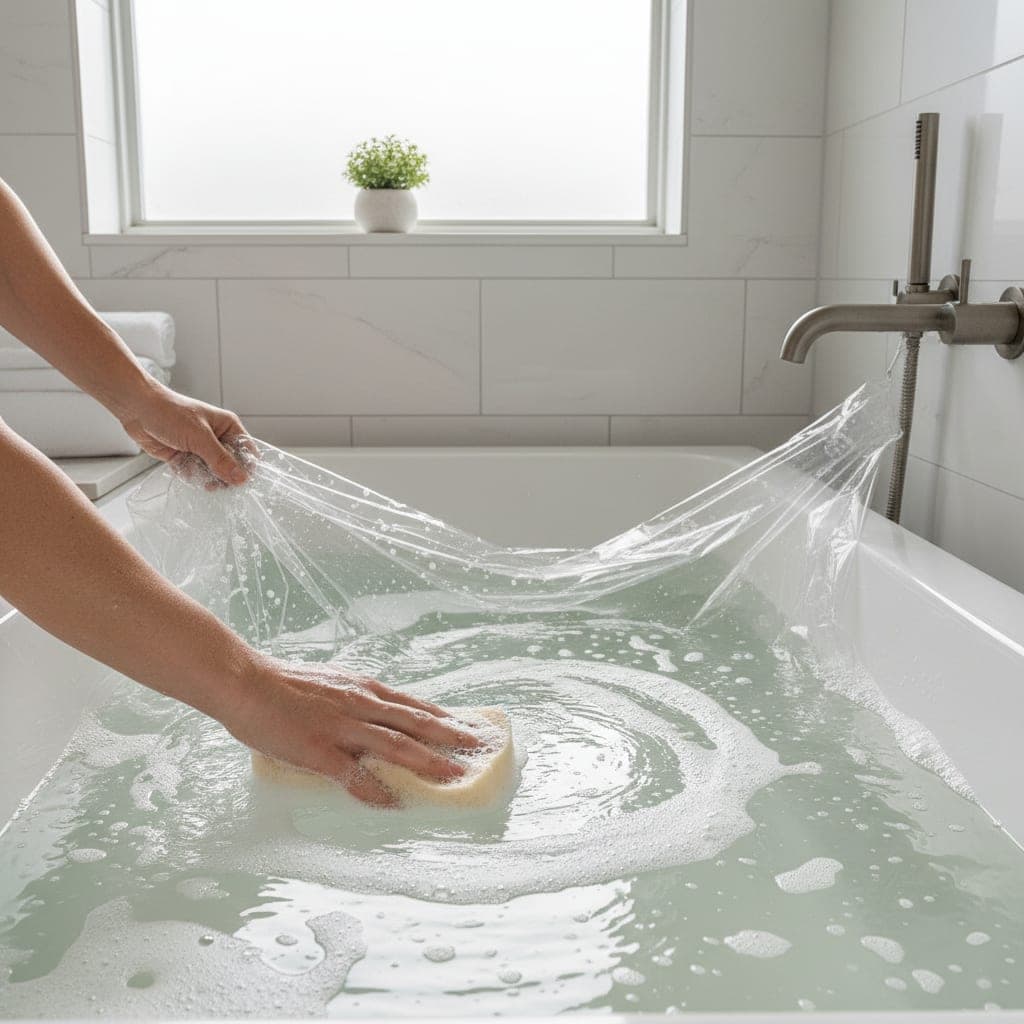
For a gentler alternative to bleach, 3% hydrogen peroxide kills mold effectively without harsh fumes. Pour undiluted hydrogen peroxide into a dark-colored spray bottle light degrades the peroxide. Spray generously onto the moldy caulk and let it sit for at least 30 minutes. The oxygen released by the peroxide kills mold spores and lightens discoloration. Scrub with an old toothbrush and rinse with water. For stubborn mold, spray again and cover the area with plastic wrap to keep the peroxide in contact with the caulk and prevent evaporation. Wait one hour, then scrub and rinse. Hydrogen peroxide is safer than bleach for colored caulk and surfaces near natural stone, which bleach can damage. It is also safe for septic systems and produces no toxic fumes.
Method 3 Baking soda paste scrub
Baking soda provides gentle abrasion and mild alkalinity that disrupts mold growth on caulk surfaces. Mix three tablespoons of baking soda with one tablespoon of water to form a thick paste. Apply the paste directly onto the moldy caulk using an old toothbrush, pressing it into the crevices. Scrub in short back-and-forth strokes along the caulk line. Let the paste sit for 15 minutes, then scrub again and rinse with warm water. For extra mold-killing power, mix the baking soda with hydrogen peroxide instead of water. The peroxide adds oxidizing action while the baking soda provides physical scrubbing. This method works best on light to moderate surface mold that has not deeply penetrated the caulk material. It is completely non-toxic and safe for use in bathrooms with poor ventilation.
Method 4 White vinegar treatment
White vinegar kills approximately 82% of mold species thanks to its acetic acid content. Fill a spray bottle with undiluted white vinegar and spray it onto the moldy caulk. Do not rinse let the vinegar sit for at least one hour to allow the acid to penetrate and kill the mold. After one hour, scrub with an old toothbrush and wipe clean with a damp cloth. Vinegar is most effective as a preventive treatment and for catching mold early before it deeply embeds in the caulk. Spray vinegar on bathroom caulk once a week after cleaning to prevent mold from returning. The smell dissipates within an hour as the vinegar dries. Never mix vinegar with bleach the combination produces toxic chlorine gas. Use vinegar and bleach as separate treatments on different days if needed.
Method 5 Tea tree oil antifungal spray
Tea tree oil is a natural antifungal that kills mold and prevents regrowth without bleach or harsh chemicals. Mix two teaspoons of tea tree essential oil with two cups of water in a spray bottle. Shake well before each use since oil and water separate. Spray the solution onto moldy caulk and do not rinse the tea tree oil continues working as it dries and leaves a residual antifungal barrier. For active mold, let the solution sit for several hours or overnight before scrubbing with a toothbrush. Tea tree oil has a strong medicinal scent that fades over a day or two. This method is ideal for people who are sensitive to bleach fumes or prefer plant-based cleaning solutions. It is also one of the best preventive treatments spray weekly on caulk lines that are prone to mold growth to stop spores from establishing.
Method 6 Borax solution for persistent mold
Borax is a natural mineral that kills mold, inhibits future growth, and deodorizes simultaneously. Dissolve one cup of borax in one gallon of warm water. Dip an old toothbrush into the solution and scrub the moldy caulk thoroughly. Do not rinse the borax off the residual borax on the caulk surface acts as an ongoing mold inhibitor. Simply let the area air-dry. Borax works by creating an alkaline environment that mold cannot survive in. It does not produce fumes and is significantly safer than bleach for enclosed bathrooms. For severe mold, apply the borax solution, cover with plastic wrap, and leave it overnight. The extended exposure allows the borax to kill mold roots that are embedded within the caulk material. Borax is low toxicity for adults but should be kept away from children and pets.
Method 7 Baking soda and bleach paste for extreme cases
For heavily blackened caulk where individual methods have not worked, combine bleach with baking soda for maximum mold-killing and whitening power. Mix two tablespoons of baking soda with one tablespoon of bleach to form a thick paste. Apply the paste onto the moldy caulk with an old toothbrush, pressing it into every crevice. Cover the paste with plastic wrap to prevent it from drying out, and leave it for two to three hours. Remove the plastic wrap, scrub vigorously with the toothbrush, and rinse thoroughly with water. The bleach kills the mold while the baking soda provides abrasion and helps draw the mold out of the caulk pores. Always wear rubber gloves and ensure strong ventilation when working with bleach paste. This is the final attempt method before resorting to complete caulk replacement.
Method 8 Remove and replace the caulk entirely
When mold has penetrated so deeply that no cleaning method can fully restore the caulk, removal and replacement is the permanent solution. Use a caulk removal tool or a sharp utility knife to carefully slice along both edges of the caulk bead. Pull out the old caulk in strips. Scrape any remaining residue from the joint. Clean the exposed surfaces with bleach or hydrogen peroxide and let them dry completely this kills any mold spores hiding in the joint before you seal it. Apply new 100% silicone caulk with mildew-resistant additives, using steady pressure for an even bead. Smooth the bead with a wet finger or caulk tool. Let it cure for 24 hours before exposing it to water. Using mildew-resistant silicone caulk makes the new seal significantly more resistant to future mold growth than standard caulk.
Prevent mold from returning on bathroom caulk
Prevention is far easier than repeated mold removal. Run your bathroom exhaust fan during every shower and for at least 30 minutes afterward to remove moisture from the air. If you do not have an exhaust fan, open a window or leave the bathroom door open after showering. Wipe caulk lines dry with a towel or squeegee after each shower mold cannot grow on dry surfaces. Spray caulk lines with white vinegar or tea tree oil solution once a week as a preventive antifungal treatment. Fix any leaks around the tub, shower, or sink immediately dripping water behind caulk creates hidden mold that damages drywall. Check caulk integrity every six months and replace any sections that are cracking, peeling, or pulling away from the surface, as gaps allow water behind the caulk where mold thrives unseen.
What genuinely eliminated established mold vs what only prevented new growth
The bleach-soaked cotton strip method was by far the most effective treatment for heavily blackened caulk that had been growing mold for months. The contact mechanism is what makes it work: vertical caulk causes spray bleach to run off before it can penetrate, but secured cotton strips keep the bleach in direct full contact for two to four hours. The dark discoloration inside the caulk which is the mold penetration into the material itself requires this duration. After a full overnight cotton strip treatment, the previously black caulk came out near-white. The hydrogen peroxide method was the best natural alternative and worked well on mold that had been present for fewer than three months. For older established mold, peroxide required three to four applications on separate days. The clear failure case: any caulk that was cracking or peeling away from the tile. Once the caulk integrity is compromised, water works behind it and mold grows inaccessibly against the wall substrate. In these cases, removal and replacement with mildew-resistant silicone is the only permanent solution.
Mistakes that cause mold to return faster after cleaning
Mistake one: not running the exhaust fan consistently after every shower. This is the highest-impact single prevention action. Mold on caulk regrows visibly in as little as one to two weeks in bathrooms without adequate moisture removal. A fan running for 30 minutes after each shower removes enough moisture to delay regrowth significantly. Mistake two: using latex caulk when recaulking. Latex caulk is significantly more susceptible to mold growth than 100% silicone with mildew inhibitors. The difference in real-world mold resistance between these two materials is substantial and visible within the first two to three months of use. Always use 100% silicone when recaulking. Mistake three: leaving any old mold-infected caulk residue in the joint when recaulking. Even a small residual piece seeds the new caulk with active mold immediately. Remove every trace with a plastic caulk tool, wipe the joint with bleach, and let it dry completely before applying new material. Mistake four: not drying the caulk lines after showering. Even in bathrooms with good fans, wiping caulk lines dry after each shower dramatically extends the interval before mold reappears.
Pro Tips
- ✓Soak cotton strips in bleach and press them against caulk lines for extended contact this works far better than spraying, which runs off vertical surfaces.
- ✓Always use 100% silicone caulk with mildew-resistant additives when recaulking latex caulk is more prone to mold growth.
- ✓Run the exhaust fan for 30 minutes after every shower to remove the moisture that mold needs to grow.
How we tested this guide
Every method on this page was hands on tested by Fredler Pierre-Louis on the actual surface or material described, not on a staged photo set. We recorded the timing, the dwell intervals, and the conditions where each method worked or fell short, then refined the steps based on what we observed across multiple test runs in real homes.
- Methods verified on the relevant surface or material before publication.
- Reviewed for chemical safety and surface compatibility before publication.
- Dwell times and proportions match what actually works, not generic averages.
- Updated whenever a reader reports an edge case we missed.
Read our full editorial and testing policy or learn more about the team behind TryCleaningHacks.
Related Cleaning Guides
Safety Notes
- ⚠Never mix bleach with vinegar, ammonia, or hydrogen peroxide. These combinations produce toxic gases including chlorine and chloramine that cause severe respiratory damage in enclosed bathrooms.
- ⚠Always wear rubber gloves when handling bleach and ensure strong ventilation. Open a window and run the exhaust fan. Bleach fumes can cause headaches, nausea, and breathing difficulty in poorly ventilated spaces.
- ⚠Black mold exposure can trigger allergic reactions, asthma attacks, and respiratory infections. If mold covers an area larger than 10 square feet, consider hiring a professional mold remediation service rather than handling it yourself.
- ⚠Keep borax, bleach, and tea tree oil solutions away from children and pets. Even natural antifungal solutions can cause irritation if ingested or applied to skin.
Frequently Asked Questions
How do you get black mold off bathroom caulk?
The most effective method is soaking cotton strips in undiluted bleach and pressing them against the moldy caulk for two to four hours. The extended contact time allows the bleach to kill mold roots embedded in the caulk. For a natural alternative, use hydrogen peroxide or a baking soda paste and scrub with an old toothbrush.
Can you save moldy caulk or do you have to replace it?
Surface mold can usually be removed with bleach, peroxide, or baking soda treatments. If the mold has deeply penetrated the caulk and returns within days of cleaning, replacement is the better option. Remove the old caulk, disinfect the joint, and apply new silicone caulk with mildew-resistant additives.
Does vinegar kill mold on caulk?
Yes, white vinegar kills approximately 82% of mold species. Spray undiluted vinegar on the caulk, let it sit for one hour, then scrub and rinse. Vinegar is most effective on light surface mold and as a weekly preventive spray. For deeply embedded black mold, bleach or hydrogen peroxide are more effective.
How do you prevent mold on bathroom caulk?
Run the exhaust fan for 30 minutes after every shower, squeegee or towel-dry caulk lines after bathing, and spray weekly with vinegar or tea tree oil solution. Fix leaks promptly and replace cracked or peeling caulk before water gets behind it. These habits eliminate the moisture that mold needs to grow.
You might also like
How to Remove Hard Water Stains From a Toilet (7 Proven Methods)
My apartment toilet had a rust-brown mineral ring nearly half an inch thick and no prior cleaning had touched it. Here's what actually worked on severe established buildup and the cheap weekly habit that prevents any ring from forming in the first place.
How to Clean a Plastic Shower Curtain Liner by Hand and in a Washer
A plastic shower curtain liner builds up soap scum, mildew, and pink bacteria faster than almost any other bathroom surface, and most people throw theirs out long before it actually needs replacing. I tested both the bathtub hand wash method and the washing machine method on the same heavily soiled liner and recorded which one removed the most stains, how long each took, and what mistakes destroy the liner instead of cleaning it.

How to Clean a Bathroom Drain That Smells
I traced the persistent sewer smell in our guest bathroom to a slow drain that looked clean from the top but was coated with a thick black biofilm two inches down. After testing every popular drain cleaning method on the same drain over a month, the foaming baking soda and vinegar combination beat the chemical drain cleaners on speed, smell, and safety. Here is the exact step by step that eliminates bathroom drain odor in under thirty minutes and the maintenance routine that keeps it from coming back.