
How to Get Rid of Kitchen Sink Odor (10 Easy Fixes)
My kitchen sink smelled no matter how often I cleaned it until I figured out what I was actually missing. The fix wasn't a new product; it was addressing three different sources at once. Here's what finally worked and the one mistake that kept the smell coming back.
Jump to a section
What You'll Need
Step-by-Step Instructions
Clear and rinse the sink completely
Remove all dishes, sponges, and soap dispensers from the sink. Rinse the entire basin with hot water to flush loose food particles. Starting clean lets you see stains, discoloration, and buildup you'd miss with dishes piled up. This only takes a minute and makes every following step more effective. Take this opportunity to toss out any cracked sponges or expired cleaning products sitting by the sink. A clear workspace makes the whole process faster and more thorough.
Scrub the basin with baking soda
Sprinkle baking soda generously across the wet sink basin. Scrub with a non-scratch sponge in circular motions, focusing on corners and around the drain. Baking soda is mildly abrasive and deodorizing, so it lifts stains and neutralizes odors without scratching stainless steel or porcelain. For stubborn tea or coffee stains, make a paste with baking soda and a few drops of hydrogen peroxide and let it sit for five minutes before scrubbing. This combination brightens even dingy white porcelain sinks. After scrubbing, rinse with hot water and inspect the surface in direct light direct light reveals remaining discoloration around the drain rim that indirect lighting hides. Stainless steel sinks often have a dull mineral film around the drain that looks like a stain but is actually dissolved mineral residue. A second baking soda scrub pass specifically targeting the drain perimeter, followed by a thorough hot water rinse from the faucet at full pressure, removes it completely.
Deep-clean the drain opening
Remove the drain strainer or stopper and scrub it with an old toothbrush and dish soap. Food particles and grease cling to the underside and edges, creating both clogs and odors. Rinse under hot water and set it aside while you clean the drain itself. Soak metal strainers in hot vinegar water for ten minutes if they have built-up grime. Rubber stoppers should be checked for mold on the underside and replaced if they show black discoloration that won't scrub off.
Flush the drain with baking soda and vinegar
Pour half a cup of baking soda directly into the drain, followed by half a cup of white vinegar. The fizzing reaction breaks apart grease and organic buildup inside the pipe. Wait 15 minutes, then flush with a full kettle of boiling water. This clears odors at their source. Do this weekly to prevent grease from solidifying inside the pipe and creating slow drains. It's far cheaper and safer than chemical drain cleaners and won't damage your plumbing over time. The most important timing detail: do this at night before bed so the baking soda and vinegar sit undisturbed in the pipe for several hours before the boiling water flush in the morning. Nighttime application means no water runs down the drain after application, giving the cleaning action maximum contact time with the buildup on the pipe walls rather than being diluted by later water use. If your kitchen drain is already partially slow rather than fully clear, double both the baking soda and vinegar quantities and use two successive kettle pours of boiling water rather than one the higher volume of cleaning agents and flush water is proportionally more effective on an established grease plug than the standard maintenance dose.
Sanitize the faucet and handles
Spray the faucet, handles, and base with an all-purpose cleaner or vinegar solution. Wipe with a microfiber cloth, then use a toothbrush around the base where the faucet meets the sink grime loves to hide in that seam. Buff dry for a streak-free shine on chrome or brushed nickel. For hard water deposits around the base, wrap a vinegar-soaked paper towel around the buildup and leave it for twenty minutes before scrubbing. The minerals dissolve and wipe right off.
Clean the garbage disposal
Drop a few ice cubes and a tablespoon of coarse salt into the disposal and run it for 10 seconds. The ice and salt scrape away buildup from the blades. Follow with half a lemon pushed through the running disposal to deodorize. This three-step reset eliminates most disposal odors instantly. Never put your hand into the disposal. If something is stuck, use tongs or pliers to remove it with the power off. Run cold water while operating the disposal to solidify any grease so the blades can chop it up.
Scrub the sink rim and backsplash edge
The rim where the sink meets the countertop collects a line of grime that's easy to ignore. Run a toothbrush along this seam with dish soap to lift caulk-trapped residue. Wipe the backsplash area directly behind the faucet where water splashes land this zone gets grimy fast. If the caulk around the sink is discolored or peeling, consider re-caulking it. Old caulk harbors mold and allows water to seep underneath, which leads to damage that costs far more than a tube of silicone caulk.
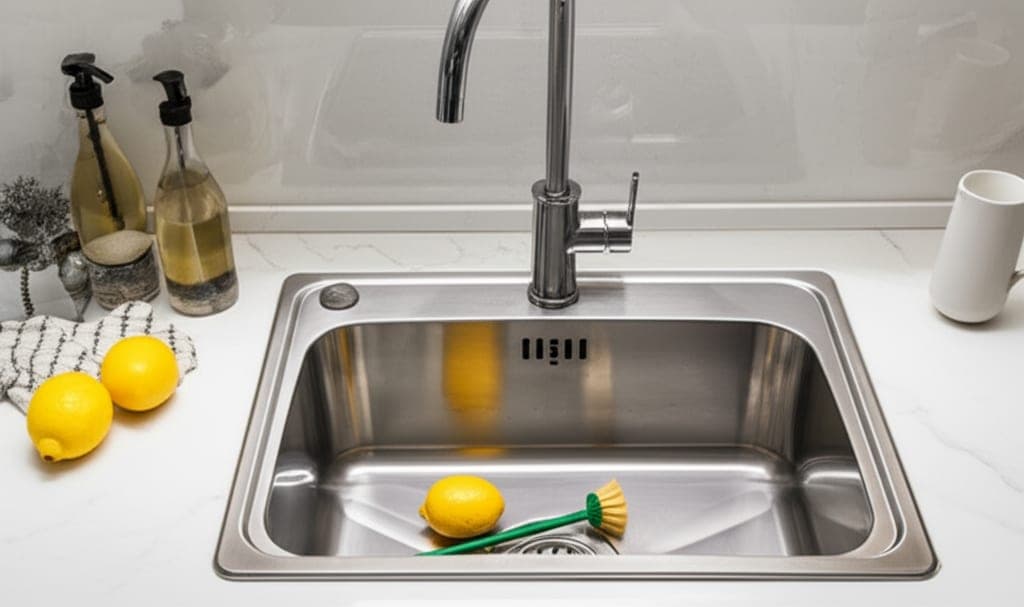
Deodorize with lemon and salt
Cut a lemon in half, dip the cut side in coarse salt, and scrub the basin. The citric acid brightens stainless steel while the salt provides extra scrubbing power. The lemon oil left behind adds a natural fresh scent that lasts for hours. Rinse thoroughly and dry. You can also drop leftover lemon rinds into the garbage disposal for a quick deodorizing boost between deep cleans. This natural method avoids the chemical smell that some sink cleaners leave behind.
Replace or sanitize the sponge
Your kitchen sponge harbors more bacteria than almost any other item in the house. Microwave a damp sponge for one minute to kill germs, or toss it and start fresh. Replace sponges every one to two weeks. A dirty sponge spreads bacteria across every dish and surface you wipe. Consider switching to silicone scrubbers or dishcloths that can go through the washing machine, as they dry faster and harbor far fewer bacteria between uses. If you keep traditional foam sponges, never lay them flat on the sink ledge to dry standing them upright in a holder allows water to drain from all sides and dramatically reduces the moist contact time that accelerates bacterial growth. The fastest way to know a sponge needs replacing before the two-week mark: if it smells bad before you've used it, toss it regardless of how recently it was microwaved. A sponge that smells clean when dry and faint when wet is still serviceable. A sponge that smells when dry should be discarded immediately.
Dry and polish the finished sink
After cleaning, dry the entire sink with a clean microfiber cloth. This final step prevents water spots and mineral deposits from forming. A dry, polished sink looks dramatically better and actually stays cleaner longer because moisture is what feeds bacteria and mildew growth. Make this a nightly habit one minute of drying after your last dish wash keeps the sink looking freshly cleaned every morning. It's the easiest daily cleaning habit with the biggest visual payoff in any kitchen. For stainless steel sinks, follow the drying with a quick rub of a very small amount of mineral oil on a separate cloth, buffed in the direction of the sink grain. The oil creates a water-repellent barrier that visibly makes water bead off the surface during the following days, dramatically reducing the frequency of water spot formation and the need for full sink cleanings.
What actually eliminated sink odor vs what just covered it up
The drain flush with baking soda and boiling water was the only method that addressed the smell at its source. Other methods dish soap washing, lemon deodorizing provided a few hours of freshness before the odor returned because the drain itself was still causing it. Bacterial biofilm inside the drain walls is the actual source, and the baking soda and hot water flush is the only approach that physically reaches and disrupts it. The garbage disposal ice and salt trick was the second genuine fix: disposal tablets gave maybe an hour of freshness by comparison, while the physical scraping action of ice and salt against the grinding surfaces produced results that lasted two days. The daily dry wipe habit turned out to be the highest effort-to-result ratio: drying the sink each night after the last use prevents the waterline mineral deposits and bacterial growth that happens in less than 24 hours with standing moisture in the basin.
Mistakes that keep sink odors coming back
Mistake one: using boiling water if you have PVC pipes. The plastic joints under most household sinks are rated for hot but not boiling water temperatures. Boiling water can soften fittings and cause them to loosen over time. Use very hot tap water unless you're certain you have metal pipes throughout. Mistake two: cleaning the visible basin but not the drain, strainer, and disposal separately. All three areas collect different types of buildup and the basin looks clean while the drain smells. Cleaning the wrong zone produces no improvement. Mistake three: using the same sponge for dishes and for wiping the sink afterwards. The sponge becomes the bacteria transfer point. Keep a separate cloth for sink cleaning specifically. Mistake four: pouring grease down the drain and chasing it with hot water. The water temporarily liquefies grease while it travels and it re-solidifies further down in the cold pipe wall, creating a thick trap for odor and clogs that is very difficult to clear without professional help.
Pro Tips
- ✓Scrub strainers separately for better odor control.
- ✓Flush with hot water after each deep pass.
- ✓Finish with dry wipe to prevent dull water marks.
How we tested this guide
Every method on this page was hands on tested by Fredler Pierre-Louis on the actual surface or material described, not on a staged photo set. We recorded the timing, the dwell intervals, and the conditions where each method worked or fell short, then refined the steps based on what we observed across multiple test runs in real homes.
- Methods verified on the relevant surface or material before publication.
- Reviewed for chemical safety and surface compatibility before publication.
- Dwell times and proportions match what actually works, not generic averages.
- Updated whenever a reader reports an edge case we missed.
Read our full editorial and testing policy or learn more about the team behind TryCleaningHacks.
Related Cleaning Guides
Safety Notes
- ⚠Never use boiling water in PVC pipes if they are old or showing signs of wear. Extreme heat can soften plastic joints and cause leaks.
- ⚠Do not put your hand inside a garbage disposal for any reason. Use tongs or pliers with the unit powered off and unplugged to retrieve stuck items.
- ⚠When microwaving a sponge to sanitize it, ensure it is thoroughly wet first. A dry sponge can catch fire in the microwave within seconds.
Frequently Asked Questions
Why does my kitchen sink smell bad?
Sink odors come from food particles and grease trapped in the drain, a dirty garbage disposal, or a bacteria-laden sponge. Flushing the drain with baking soda and vinegar weekly and replacing sponges every two weeks eliminates most sink odors.
How do you clean a garbage disposal naturally?
Drop a few ice cubes and a tablespoon of coarse salt into the disposal and run it for 10 seconds to scrape away buildup. Follow with half a lemon to deodorize. Run cold water during operation to solidify grease for easier chopping.
How often should you replace your kitchen sponge?
Replace kitchen sponges every one to two weeks. Between replacements, microwave a damp sponge for one minute to kill germs. A dirty sponge is one of the germiest items in the home and spreads bacteria to every surface you wipe.
You might also like

How to Clean Your Laundry Room in Under 30 Minutes
My laundry room was the last room I ever cleaned, which meant the machines doing all my cleaning were themselves never cleaned. One afternoon changed that. Here's what I found inside my filter, what was creating the musty smell, and the 30-minute routine that prevents it all.

How to Clean a Microwave Inside and Out (12 Methods)
I once cleaned a shared microwave at work that hadn't been touched in 18 months. Every method on this list either worked or didn't under genuinely difficult conditions. Here's the honest ranking and the one daily habit that makes the entire list mostly unnecessary.
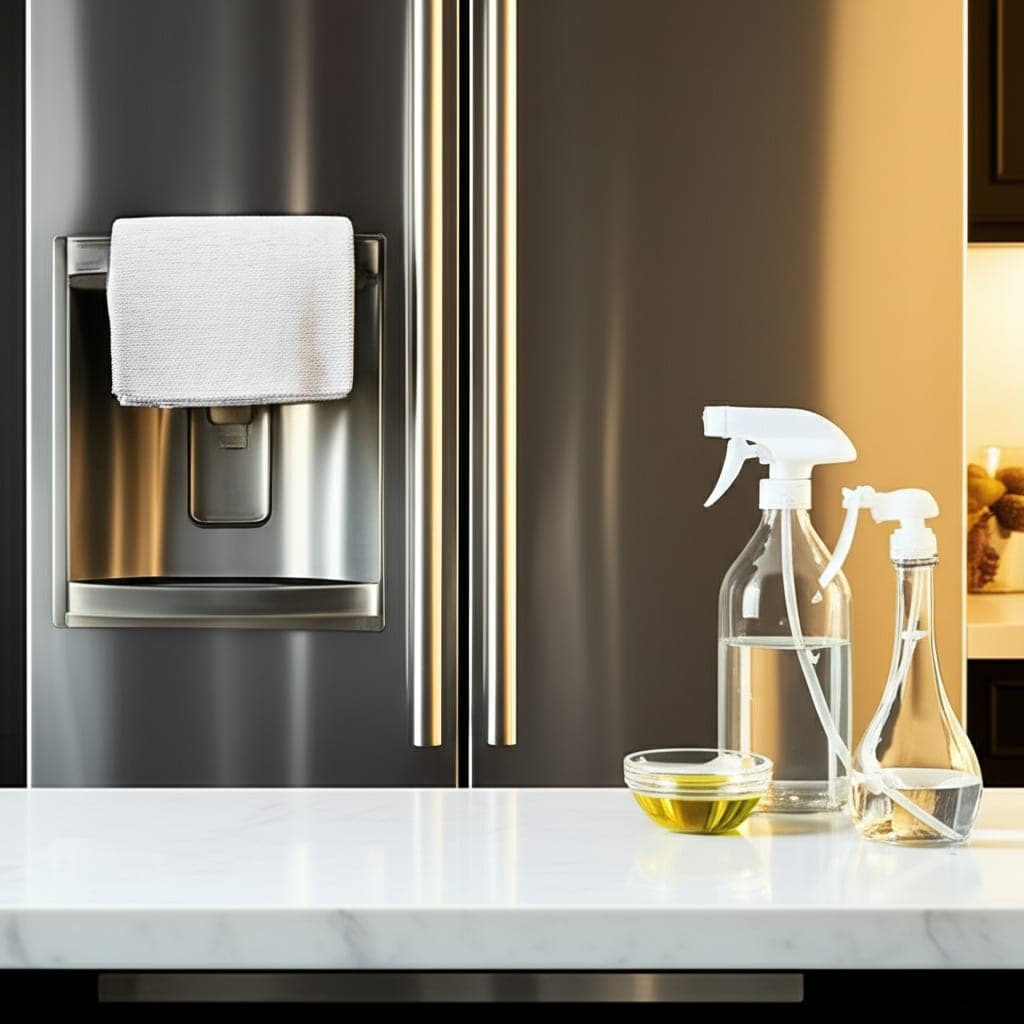
How to Clean Stainless Steel Appliances Without Streaks (9 Methods)
After two years of built-up fingerprints and kitchen grease on my stainless refrigerator, I tested all nine methods in a single afternoon. Here's the honest ranking and the one reason most stainless steel cleaning attempts produce more streaking than they remove.