
10 Things You Can Clean With Toothpaste
I spent a week testing plain white toothpaste against the products I already owned, on silver, headlights, sneaker soles, and a water ring my sister left on my coffee table. A few results genuinely surprised me. Others were a waste of a good tube. Here is the honest breakdown of what toothpaste actually cleans, how to do each one without wrecking the surface, and the four places it quietly ruins things you cannot get back.

Jump to a section
What You'll Need
Step-by-Step Instructions
Polish tarnished silver jewelry and flatware
This is the one that made me a believer. I had a sterling silver ring that had gone almost charcoal gray in the crevices, and I put a pea of plain white toothpaste on a soft cotton cloth and rubbed in small circles. Within about a minute the tarnish was lifting onto the cloth as a dark smear and the silver underneath looked genuinely bright. The mild abrasive, usually hydrated silica, is fine enough to lift the tarnish film without scratching the metal. For flatware that has gone dull sitting in a drawer, work one piece at a time and rinse under lukewarm (not hot) water, then buff dry with microfiber. Do not leave the paste to dry on the metal, because dried paste is harder to remove from etched areas than the tarnish was. For monogrammed or engraved pieces, switch to a soft toothbrush so the paste reaches the recessed lines a flat cloth skips right over. The hard rule: keep it away from pearls, opals, and any glued or plated jewelry. The abrasive scratches soft stones and can wear thin gold plate down to the base metal. I tested this against a commercial polishing cloth and a jar of silver cream, and the toothpaste beat the cloth on speed and matched the cream on the final shine, at basically no cost. This was the clearest win of everything I tried.
Lift white water rings from wood furniture
My sister set a cold glass on my coffee table and left a pale cloudy ring in the lacquer. I was skeptical, but toothpaste genuinely fixed it. That white haze is moisture trapped just under the top layer of finish, not damage to the wood itself, which is why a gentle abrasive can buff it out. I squeezed a short line of plain white paste onto a soft cloth and rubbed lightly along the grain, not across it and not in circles, for about 30 seconds. Then I stopped, wiped with a barely damp cloth, and dried immediately. The ring was gone. The mistake I almost made was rubbing too long: if you keep going past the point where the haze clears, you buff a subtly glossier patch that catches the light differently than the rest of the table, and that is harder to hide than the original ring. If a stubborn ring will not budge in one pass, mix the toothpaste with an equal pinch of baking soda for slightly more bite, and test that blend on a hidden edge first. Only plain white paste works here. Gel has no abrasive and does nothing, and colored pastes can leave a faint tint in light or unsealed wood. This works on sealed, lacquered, or varnished surfaces. Do not try it on raw, waxed, or oiled wood, where there is no protective film to work through.
Shine chrome bathroom faucets and fixtures
Toothpaste does clean water spots and toothpaste splatter off chrome, and honestly your bathroom sink is already the natural place for it. I dabbed a little onto a damp cloth and worked it over a faucet crusted with dried water spots, then used an old toothbrush around the base where limescale builds up in the seam between the fixture and the sink. Rinse with warm water and buff dry, and the chrome comes back bright with a faint mint smell. That said, this is where I want to be honest: it works, but it is not magic. When I ran a cut lemon over an identical faucet, the citric acid dissolved the hard water film faster and with no gritty rinse step afterward. So I reach for toothpaste on chrome mainly when the tube is already sitting right there and I want a two minute touch up. One real caution: chrome is usually a thin plating, so use light pressure. And if the fixture is brushed or satin stainless rather than shiny chrome, wipe strictly in the direction of the grain, never in circles, or you will leave faint swirl marks that show up under bathroom lighting.
Whiten yellowed rubber sneaker soles
White rubber soles yellow over time, and toothpaste brightens them better than I expected, though not to factory white. I put a thick layer of plain white paste on the rubber midsole of a pair of canvas sneakers and scrubbed hard with an old toothbrush, working it into every groove and the textured sidewall. I let it sit five minutes, scrubbed again, then wiped clean with a damp cloth. The soles came back noticeably brighter and the black scuffs lifted almost completely. The whitening it does is mostly the abrasive scrubbing grime out of the pores of the rubber, not bleaching, so deep age yellowing (which is oxidation inside the rubber) only lightens partway. For that, this buys you an improvement, not a reset. Keep the paste on the rubber and off the fabric of the shoe unless the fabric is plain white canvas, in which case a thin scrub is fine as long as you wipe it all off before it dries. Do not use it on suede, leather, knit, or mesh uppers, because the moisture stains suede and leather and the abrasive frays delicate mesh. Let the shoes air dry away from direct heat, which can warp the sole adhesive.
Erase crayon marks from painted walls
If you have small kids you know the panic of finding a fresh crayon mural. Toothpaste is a genuinely good first response because crayon is basically colored wax sitting on top of the paint, and a mild abrasive scrubs the wax off without stripping the paint underneath. I put a dab of plain white paste on a damp cloth and rubbed the mark in small circles with light pressure, adding a little more only where the color was stubborn. The wax broke up and wiped away, then I cleaned the spot with a plain damp cloth and dried it. The thing nobody warns you about is the paint finish. On semi gloss and satin walls this is easy and leaves no trace. On flat or matte paint, which most modern interior walls use, any rubbing at all can polish that one spot to a faint sheen that stands out from the dead flat surface around it. So on flat paint, start with the gentlest pressure you can manage, test an inch first behind furniture, and stop the second the crayon is gone. For a big scribble, work in small sections and rinse the cloth often so you are not smearing pigment into clean paint.
Neutralize garlic and onion smell on your hands
This one is less cleaning a surface and more cleaning your skin, and it works surprisingly well. After chopping a lot of garlic and onion, the smell clings to your fingers no matter how much you wash with soap, because soap mostly covers it rather than breaking down the sulfur compounds responsible. I rubbed a pea sized blob of plain white toothpaste between my palms and fingers like hand soap, scrubbed for about 30 seconds with extra attention around the fingertips and nails where the smell hides, and rinsed with cool water. The garlic smell was gone, replaced by a mild mint that faded fast. The baking soda and mint oils in the paste help neutralize the odor molecules instead of just masking them, which is why this beats a second round of hand soap. A couple of honest notes: skip the whitening or heavy grit formulas here, because scrubbing coarse abrasive into skin, especially around a fresh cut from chopping, is unpleasant and can irritate. And if your hands are chapped, the mint can sting slightly. A plain, basic white paste is all you need, and it costs nothing extra since the tube is already in the house.
Clear cloudy oxidized car headlights
Foggy yellow headlights are UV damaged polycarbonate, and toothpaste works as a very fine polishing compound to cut back that hazy top layer. I washed and dried the lens first (grit trapped under your cloth will scratch), then rubbed a generous amount of plain white paste over the lens with a damp cloth in firm circles for two to three minutes per headlight. The difference was visible right away, from cloudy amber to clearly see through. Rinse thoroughly and dry. If you have a drill with a soft buffing pad, running the paste with that instead of your hand is faster and far more even across a big lens, and my arm was grateful. Set your expectations honestly, though. This is not a real restoration. A proper kit wet sands through several grits and seals with UV clear coat. Toothpaste only polishes the surface, so in my test the clarity held about six to eight weeks before the haze crept back. The single most useful upgrade is to seal your work afterward with a UV protectant spray or a coat of car wax, which noticeably slows the re oxidation and stretches that result out. As a free stopgap before an inspection or a night drive, it genuinely delivers.
Clean yellowed piano keys
Old piano keys, whether real ivory or plastic, pick up finger oils and a yellow film over decades, and toothpaste lifts it gently. The technique matters more than the product here. I put a tiny amount on a barely damp cloth and wiped each key with a single stroke from the back edge toward me, never side to side, so no moisture gets pushed into the gaps between keys. Then I went over each key with a clean damp cloth to remove residue and dried it immediately with a soft towel before moving on. The keys brightened and the sticky film came off without any harsh chemical. The one rule you cannot break is water control. Liquid running down between the keys can swell and warp the wooden key bed underneath, which is an expensive repair, so your cloth should be damp, never wet, and you should dry each key before the next. I found it helpful to clean one octave at a time so I did not lose my place, and to tuck a folded tissue lightly into the gap beside the key I was working on as a moisture barrier. On genuine ivory especially, go easy on pressure, since it is more porous than plastic and you are polishing, not scrubbing.
Remove black scuff marks from tile and vinyl floors
Those black streaks that shoe heels leave on tile, linoleum, and vinyl are rubber deposits sitting on the floor, and toothpaste scrubs them off without the harsh solvent smell of specialty scuff removers. I put a dab of plain white paste right on the mark, let it sit about a minute so it could start breaking down the rubber, then rubbed with a damp cloth using moderate pressure. For a long stubborn streak, the old trick of using a clean dry tennis shoe sole to rub it, with the paste as the abrasive, works well and saves your knuckles. Wipe the area with a damp mop afterward and dry it, because any leftover paste film gets slippery and shows footprints. This shines in entryways, kitchens, and anywhere shoes scuff constantly, and it is far cheaper than a dedicated product. Two cautions. First, this is for sealed, hard flooring; do not grind abrasive paste into unsealed stone tile or a worn matte vinyl, where it can dull the surface. Second, glossy tile is fine but skip the circular scrubbing on any high shine finish and go in straight passes, since concentrated circular abrasion can leave a faintly polished halo around where the scuff was.
Deodorize and scrub reusable water bottles
A water bottle you refill every day builds up a slick biofilm and a sour, musty smell that plain dish soap never fully kills. Toothpaste tackles both the residue and the odor, and the mint leaves the bottle actually smelling clean instead of faintly swampy. I put a squeeze of plain white paste on a bottle brush and scrubbed the whole inside, then hit the cap, the threads, and especially the silicone gasket, which is where mold and funk quietly collect and where most people never look. The mild abrasive scours the film off the walls while the surfactants cut the odor. Then rinse, and rinse again, and rinse a third time with hot water, because you will be drinking out of this and you want zero paste taste left behind. For narrow neck bottles a brush cannot reach the bottom of, drop a tablespoon of paste in with some warm water, cap it, and shake hard for 30 seconds so the liquid scours the base you cannot touch. This worked on both stainless steel and plastic bottles for me. The only real downside is the rinsing patience it demands, so budget an extra minute at the sink.
Pro Tips
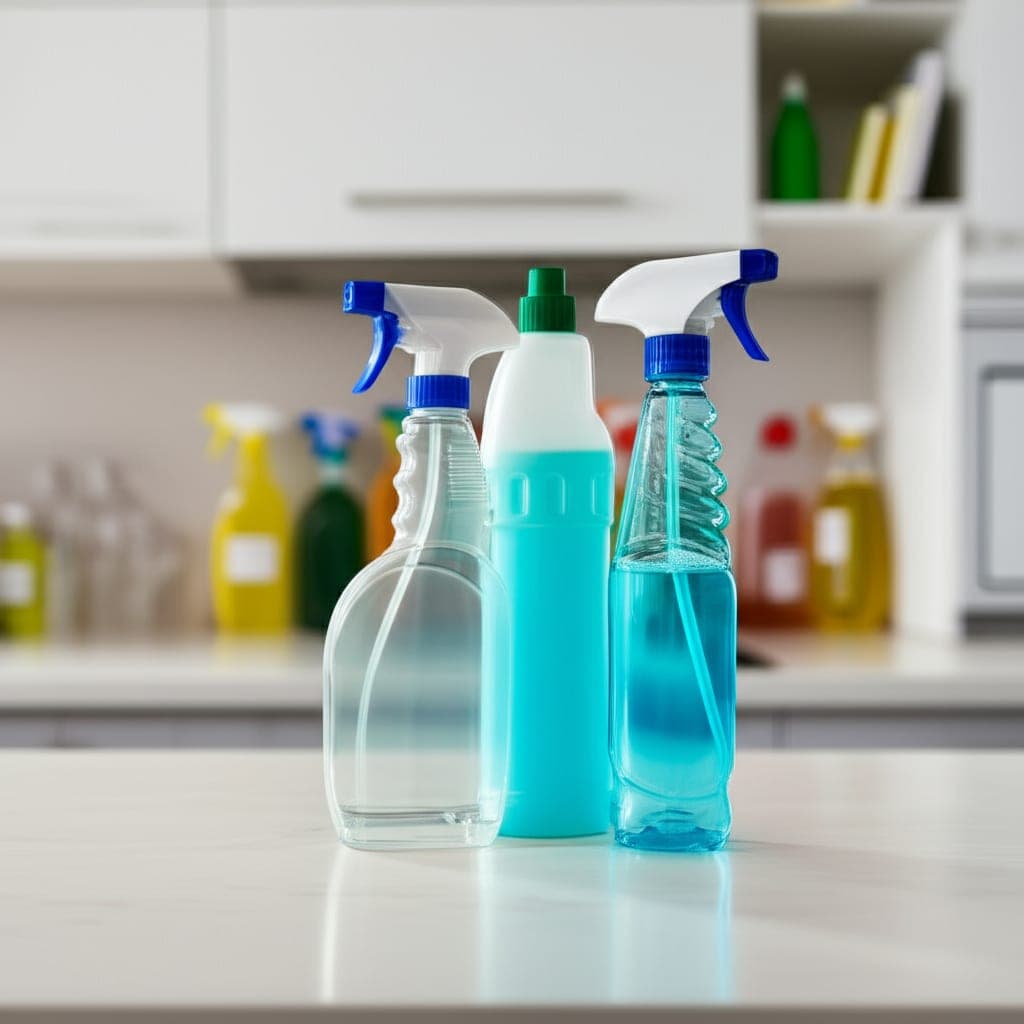
- ✓Plain white paste only, every time. Gel has no abrasive and does nothing for cleaning, and whitening formulas pack a much coarser grit meant for tooth enamel that scratches wood, plating, and delicate finishes. The cheapest basic white tube is actually the best cleaning tool here.
- ✓On any metal, wipe in one direction, in line with the grain, never in circles. Circular rubbing is what leaves those faint swirl marks on stainless steel and chrome that only show up later under bright light.
- ✓A pea sized amount is plenty for most jobs. Start small and add more only where a spot is stubborn. A thick glob just means more rinsing and residue, not more cleaning power.
- ✓Never let the paste dry on the surface. Dried toothpaste is far harder to remove from engraving, grooves, and textured rubber than the grime you were trying to clean, so work in small areas and wipe before it sets.
- ✓Test a hidden spot first on anything you care about: wood, painted walls (especially flat or matte paint), and plated fixtures. Thirty seconds of testing saves you from a permanent shiny patch or worn plating.
How we tested this guide
Every method on this page was hands on tested by Fredler Pierre-Louis on the actual surface or material described, not on a staged photo set. We recorded the timing, the dwell intervals, and the conditions where each method worked or fell short, then refined the steps based on what we observed across multiple test runs in real homes.
- Methods verified on the relevant surface or material before publication.
- Reviewed for chemical safety and surface compatibility before publication.
- Dwell times and proportions match what actually works, not generic averages.
- Updated whenever a reader reports an edge case we missed.
Read our full editorial and testing policy or learn more about the team behind TryCleaningHacks.
Related Cleaning Guides
Safety Notes
- ⚠Never use toothpaste on natural stone like marble, granite, or travertine. The abrasive scratches the polish and the compounds in the paste can etch and dull these surfaces, and that damage is permanent.
- ⚠Keep it off screens, camera lenses, and eyeglasses. Despite endless internet advice to buff scratches out with toothpaste, the abrasive grinds micro scratches into optical and anti glare coatings that permanently degrade clarity, and you cannot undo it.
- ⚠Do not use whitening toothpaste on gold plated, brass, or thinly plated items. The stronger abrasive wears through plating to the base metal and scratches soft metals, so stick to plain white paste and light pressure on anything plated.
- ⚠Rinse anything food or drink related, like water bottles and flatware, thoroughly with hot water several times until there is no paste taste or film. Do not leave fluoride toothpaste residue on surfaces you eat or drink from.
- ⚠Never mix toothpaste with bleach or other cleaning chemicals to boost it. Use it on its own or, at most, with a little baking soda and water; combining random cleaning products can create dangerous fumes.
Frequently Asked Questions
What kind of toothpaste actually works for cleaning?
Plain white paste, not gel and not whitening. White toothpaste contains a mild abrasive, usually hydrated silica, that gently polishes surfaces. Gel has no abrasive so it does nothing, and whitening formulas use a coarser grit that can scratch delicate finishes and plating. The cheapest basic white tube is the one you want.
Can toothpaste really remove water rings from wood?
Yes, if the ring is the pale cloudy kind trapped in the finish rather than a dark stain in the wood itself. Rub plain white paste along the grain with a soft cloth for about 30 seconds, then wipe and dry immediately. Stop as soon as the haze clears, because over rubbing buffs a glossy patch that is harder to fix than the ring. Only works on sealed or lacquered wood, not raw, waxed, or oiled surfaces.
What should you never clean with toothpaste?
Natural stone (marble, granite, travertine), phone and TV screens, camera lenses, eyeglasses, and gold plated or brass items. The abrasive scratches polished stone and optical coatings and wears through thin plating, and all of that damage is permanent. Also avoid it on suede, leather, and mesh, where moisture and grit cause staining and fraying.
Does toothpaste actually restore headlights, or is that a myth?
It genuinely helps, but it is a temporary fix, not a real restoration. Toothpaste polishes off the hazy oxidized surface layer and the improvement is immediate and obvious. But it does not remove deep damage the way a wet sanding kit does, so in my testing the clarity lasted only about six to eight weeks. Sealing your work with UV protectant spray or car wax afterward makes it last noticeably longer.
Is it safe to clean a water bottle with toothpaste?
Yes, and it works well on the sour biofilm smell that dish soap leaves behind, especially on the cap gasket where funk collects. The key is rinsing. Scrub with plain white paste, then rinse several times with hot water until there is no minty taste or film left, since you will be drinking from it. For narrow bottles, shake a tablespoon of paste with warm water to scour the bottom a brush cannot reach.
Why did my toothpaste leave swirl marks or a shiny spot?
Two common causes. On metal like stainless steel and chrome, rubbing in circles leaves faint swirl marks; always wipe in one direction along the grain instead. On flat or matte wall paint and low sheen floors, any abrasive rubbing can polish a small area to a subtle shine that stands out from the surrounding surface. Use the lightest pressure possible on those finishes and test a hidden spot first.
You might also like
7 Deep Cleaning Tricks That Save Hours Every Week
I timed my bathroom the same way twice, once with my old habit of spray, wipe, repeat, and once with the batch method below. The old way took 45 minutes. The new way took 22. The single change that mattered most was almost embarrassingly simple, and I will tell you exactly what it was. None of this involves buying a gadget or a miracle spray. It is mostly about the order you do things in and where you stop wasting motion. I have cleaned the same rooms hundreds of times, made most of the mistakes, and kept only the moves that actually earned their place.
How to Deep Clean a Shower (10 Proven Methods)
I deep cleaned the same shower twice in one week once with my old routine and once with these ten methods applied in the right sequence. The difference wasn't even close. Here's what changed and the daily habit that eliminated most of my scrubbing for good.
30 Cleaning Myths You Need to Stop Believing
I believed most of these myths for years, and two of them left permanent marks on surfaces in my own house. This is the honest version of what I got wrong, why the popular advice fails, and the two safety myths that actually send people to the emergency room. I have kept the failures in here on purpose, because the mistakes taught me more than the wins did, and a myth is only dangerous while you still trust it.