
7 Deep Cleaning Tricks That Save Hours Every Week
I timed my bathroom the same way twice, once with my old habit of spray, wipe, repeat, and once with the batch method below. The old way took 45 minutes. The new way took 22. The single change that mattered most was almost embarrassingly simple, and I will tell you exactly what it was. None of this involves buying a gadget or a miracle spray. It is mostly about the order you do things in and where you stop wasting motion. I have cleaned the same rooms hundreds of times, made most of the mistakes, and kept only the moves that actually earned their place.

Jump to a section
What You'll Need
Step-by-Step Instructions
Clear the room before you open a single bottle
The first time I actually timed myself, I realized I was losing minutes weaving around clutter with a wet cloth in my hand. Now I walk in with an empty laundry basket and drop in everything that does not live in that room. Shoes, mugs, mail, the phone charger from three weeks ago. It takes me about three minutes for a bathroom and closer to eight for a living room. Do not sort as you go, just collect and set the basket by the door. Sorting is a separate task and it will swallow your momentum if you let it start now. The point is a clear surface so every wipe lands on the counter instead of shoving a hairbrush around. This pass also tells you where the real work is, so you are not surprised by baked on grime halfway through. I also use this trip to open a window or flip on the vent fan, since I know the degreaser is coming next and I would rather the air already be moving. One concrete thing I learned: pull small rugs and bath mats out of the room entirely and hang them over a railing, because they hide half the floor you need to reach and they trap the dust you are about to knock down. If you find yourself carrying an item to another room, resist it. That single trip becomes three, and suddenly you are folding laundry instead of cleaning the bathroom you walked in to clean. Expect the room to look briefly worse, emptier and starker, which is exactly what you want before the actual work starts.
Pretreat everything that needs to soak, all at once
This is the change that cut my time nearly in half, so do not skip it. Before I wipe anything, I spray degreaser on the stovetop, hit the soap scum on the shower glass, and mist the grout that always goes gray near the faucet. Then I walk away for five full minutes. I set a phone timer, because standing there watching it feels like ten minutes but is actually the difference between one easy wipe and five hard ones. People who swear this does not work almost always wiped too soon. Baked on stove grease needs the whole five minutes, and heavy soap scum sometimes wants closer to ten. Use that time to work in the next room so you are never just waiting. A few specifics that matter: keep the surface visibly wet the entire dwell time, because a cleaner that dries out stops working and can leave its own film. If a vertical surface like shower glass dries too fast, respray it or lay a degreaser soaked cloth flat against the worst patch so the product stays in contact. On a gas stovetop, lift the grates off and soak them in hot soapy water in the sink during the same five minutes, so two jobs cure at once. The mistake I made early on was pretreating one thing, wiping it, then pretreating the next, which throws away the whole point. Spray every soaking job in the room in one lap, then start your timer once, not five separate times. What you should expect afterward is that grime you used to scrub at comes off in a single relaxed pass, and your arm is not sore the next morning.
Dust from the ceiling down, and do it before you vacuum
I use a dry microfiber on an extendable handle and start high: fan blades, the tops of door frames, light fixtures, then down to shelves, picture frames, and finally baseboards. Gravity does exactly what you expect, so anything I knock loose lands lower, where I have not cleaned yet. The mistake I made for years was vacuuming first and then dusting, which drops a fresh layer onto the floor I just finished, so I was effectively cleaning the floor twice and the room once. The tops of door frames and the area behind the TV are where I find the most, so I check those every time, along with the top of the fridge and the crown of tall bookshelves. Do this dry, not damp, or you just make mud that smears into a gray streak and dries stuck. Dry microfiber holds dust electrostatically, which is the whole trick, and a wet cloth throws that away. For ceiling fan blades specifically, slide an old pillowcase over each blade and pull it back toward you, so the dust drops into the case instead of snowing down onto the bed or couch below. If a blade has a sticky film rather than loose dust, that is the one place I go lightly damp, then dry it immediately. Work your way around the room in one direction so you do not double back over spots you already did. Expect the first ceiling to floor pass in a long neglected room to fill a cloth fast, so shake it out into the trash or swap to a fresh one before it just starts redistributing what it collected.
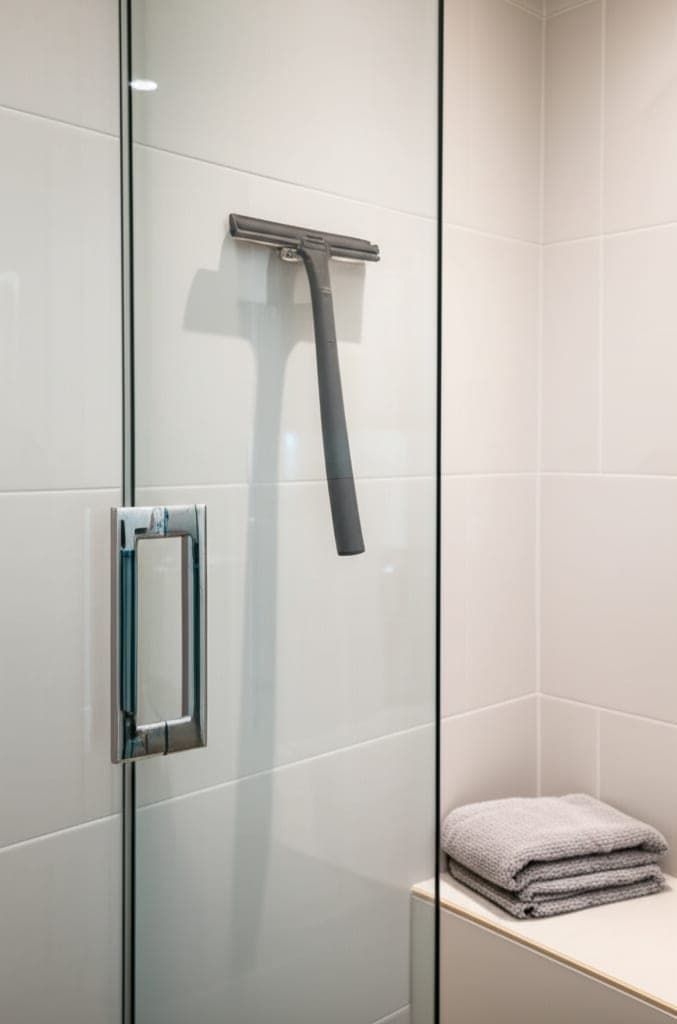
Do all the glass in one pass
Spray the cloth, not the mirror. Spraying the glass directly sends drips down behind the frame and into the little gap at the bottom of a mirror where it dries into a haze you cannot reach. I wipe in overlapping strokes rather than circles, because circles leave a swirl that shows up the second afternoon light hits it. I learned that the hard way on a bathroom mirror that looked spotless at night and streaky at 10 a.m. Hit mirrors, glass tabletops, and cabinet fronts while you have the cloth out, so you are not fetching the same bottle four separate times. On a big window, work in sections and dry each one before the cleaner evaporates into residue, because evaporation is what leaves the streak, not the cleaner itself. Two cloths make this far better: one damp to clean, one dry to buff, and the dry buff is what actually removes the last film. If you only have glass cleaner and hard water in your area, a haze that will not budge is usually mineral deposit, not dirt. For that, wipe the glass with a cloth dampened in plain white vinegar, give it a minute, then rinse with water and buff dry. Do not reach for vinegar on the mirror if you have just used a bleach based product nearby, and never combine the two. One more honest note: a coffee filter or a flat weave microfiber leaves fewer lint bits than a fluffy terry towel, which sheds fuzz that you then chase around the glass. Expect the glass to look clear at every angle and every light level, not just the one you happened to check it under.
Reset the kitchen appliances
Microwave a bowl of water with a few lemon slices for two minutes. The steam loosens the dried splatter so it wipes off without scrubbing, and the lemon leaves a clean smell rather than doing any real scrubbing itself. Leave the door shut for an extra minute after it beeps so the steam keeps working while you move on. While that runs, I pull the fridge shelves and wash them in warm soapy water in the sink. Let glass shelves come to room temperature before hot water hits them, because cold tempered glass can crack from the sudden change, a lesson I would rather you not learn the way I did. The spots everyone forgets are the sides and top of the fridge and the toaster tray, where a greasy film settles that you only notice once you run a clean cloth over it and it comes back gray. Wipe the rubber door gasket too, since crumbs and mildew collect in those folds and a cotton swab gets into the creases a cloth cannot. If your coffee maker tastes flat, run a cycle of half water and half plain white vinegar, then two cycles of clean water to flush the vinegar completely, or the next pot will taste like salad. Descale the kettle the same way. For a scorched microwave splatter that steam alone will not lift, make a paste of baking soda and a little water, let it sit on the spot for five minutes, then wipe. Do not put the vinegar anywhere near a bleach based cleaner, and never spray cleaner directly into vents or control panels where liquid can seep into electronics. Expect the kitchen to smell neutral and fresh, which is the real tell that the hidden grease is gone.
Wipe the spots everyone touches and no one cleans
Doorknobs, light switches, the TV remote, cabinet pulls, the fridge handle, and stair railings get touched dozens of times a day and almost never cleaned. A single disinfectant cloth run through the whole house takes me under five minutes, and during cold season it does more for actual household hygiene than any amount of floor scrubbing. I keep a tub of wipes on the counter in plain sight, because the year I stored them under the sink was the year I quietly stopped doing this step. Out of sight really is out of mind for a chore this small. Give a disinfectant a moment to sit rather than wiping it off instantly, since most need to stay wet on the surface to actually kill anything, and the label usually names a contact time of anywhere from thirty seconds to four minutes. If the surface dries before that time is up, you disinfected nothing, you just moved germs around, so on a busy handle I go over it twice. Add the spots people forget entirely: the sink faucet lever you turn with dirty hands then again with clean ones, the flush handle, the microwave keypad, the dishwasher and oven handles, and phone screens, which are filthier than most people want to know. For electronics, use a wipe that is barely damp or a cloth sprayed lightly, never a soaking one, and keep liquid away from ports. Do not use a bleach wipe on brushed metal or natural stone, which it can dull or etch, and test a hidden corner first on anything you are unsure of. Expect no visible change at all here, which is exactly why it gets skipped, and exactly why it matters.
Vacuum first, then damp mop, working toward the door
Carpets and rugs get vacuumed, then hard floors, then a damp mop on tile, laminate, or wood. I start in the farthest corner and back toward the door so I am not printing footprints across a wet floor and trapping myself in a clean corner. Corners and baseboards hold the most, so I slow down there and drag a chair or two out of the way to reach underneath, since the visible middle of a floor is rarely the dirty part. On hardwood I keep the mop barely damp and follow with a dry pass, because standing water is what warps boards and lifts finish over time, and wood forgives almost everything except sitting moisture. Wring the mop until it is damp, not wet, meaning no water pools when you set it down. Change your mop water the moment it turns gray, because past that point you are painting dirt in a thin film across the floor and it dries as a dull haze. On tile, the grout lines are where the water hides, so I go back over them with the detail brush during the pretreat step rather than expecting the mop to reach in. If a room still smells off after mopping, sprinkle baking soda on the rug, wait fifteen minutes, and vacuum it up before you go looking for an air freshener, since an air freshener only masks what the baking soda actually absorbs. Vacuum in overlapping rows and make a slow return pass, because a carpet gives up far more on the second pull than the first. Expect a clean floor to feel different underfoot, not just look better, which is the payoff for saving it until last.
Pro Tips
- ✓Pretreat every soaking job in a room at once, then wipe them all after five minutes. Batching the dwell time is what turned my 45 minute bathroom into a 22 minute one.
- ✓Keep two cloth colors and never cross them. One color touches anything below the toilet rim, the other touches sinks and mirrors. I use blue for dirty zones and white for finishing.
- ✓Set a timer for each room instead of the whole house. A hard cap of fifteen minutes for a bathroom keeps me from disappearing down a grout rabbit hole.
- ✓Spend the last ninety seconds straightening. Fold the throw, square the towels, close the cabinets. Guests read that as clean far more than they notice the scrubbing you actually did.
- ✓Wash microfiber cloths on their own with no fabric softener and no dryer sheets. Softener coats the fibers and kills the grab that makes microfiber work, so a softened cloth just smears. Air dry or use low heat.
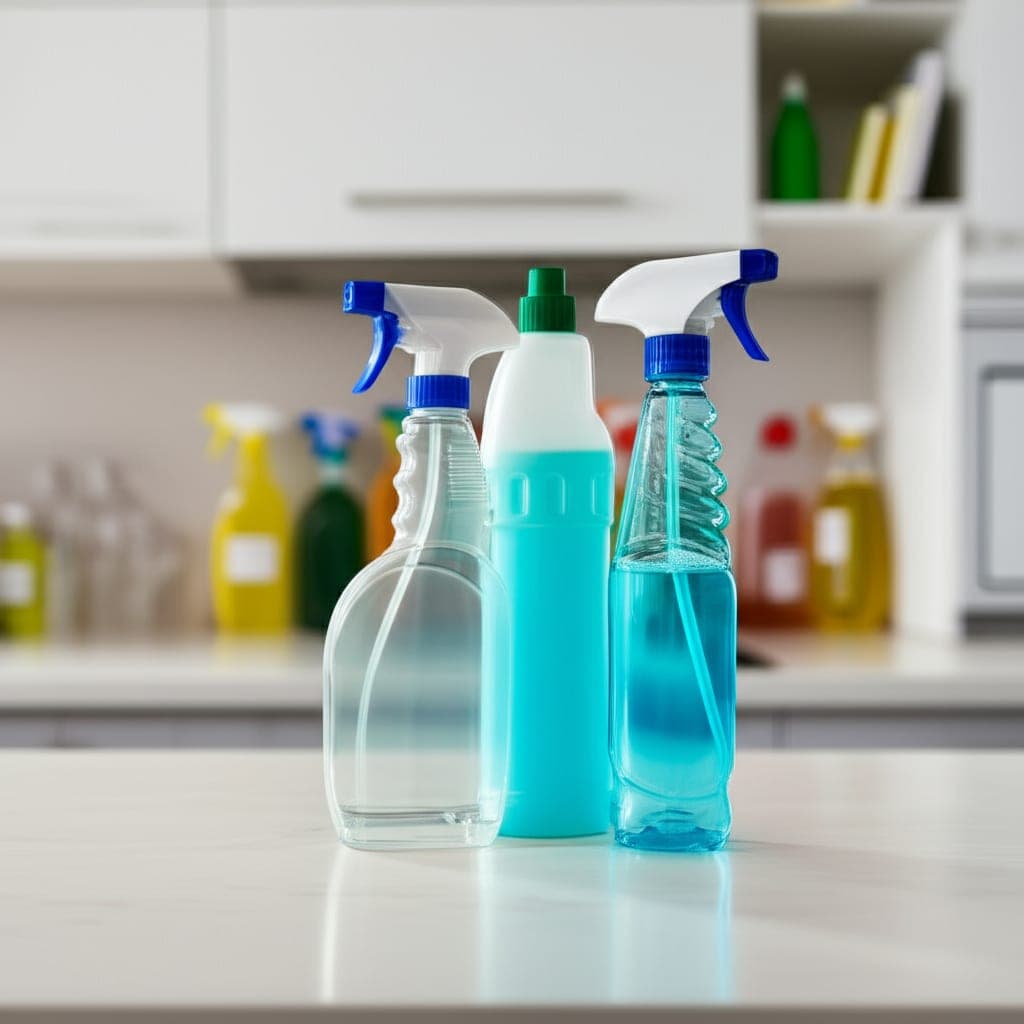
- ✓Buy cleaners as concentrates and dilute them into your own labeled bottles. You pay for water when you buy ready to spray, and the concentrate stores in a fraction of the cabinet space.
- ✓Keep a small caddy stocked per floor of the house rather than one central stash. The trip back down the stairs for a forgotten bottle is where a focused session quietly falls apart.
- ✓Clean top to bottom and dry to wet as a rule. Dust before you wet anything, and mop before nothing else can drop onto the floor. Fighting that order is most of what makes cleaning feel slow.
How we tested this guide
Every method on this page was hands on tested by Fredler Pierre-Louis on the actual surface or material described, not on a staged photo set. We recorded the timing, the dwell intervals, and the conditions where each method worked or fell short, then refined the steps based on what we observed across multiple test runs in real homes.
- Methods verified on the relevant surface or material before publication.
- Reviewed for chemical safety and surface compatibility before publication.
- Dwell times and proportions match what actually works, not generic averages.
- Updated whenever a reader reports an edge case we missed.
Read our full editorial and testing policy or learn more about the team behind TryCleaningHacks.
Related Cleaning Guides
Safety Notes
- ⚠Never mix a bleach based cleaner with anything containing ammonia, vinegar, or peroxide. The combination can release toxic chloramine or chlorine gas that causes real respiratory harm. If you use bleach on one surface, rinse it fully and switch cloths before touching another product.
- ⚠When you use a degreaser or any strong spray, open a window or run the vent fan and wear rubber gloves. Concentrated fumes in a closed bathroom can bring on a headache fast, and prolonged skin contact with cleaners dries and irritates your hands.
- ⚠Keep liquid away from electronics. Never spray cleaner directly onto a TV remote, a microwave keypad, a phone, or into appliance vents and control panels. Spray a cloth lightly instead, and make sure the surface is only damp, not soaked, so nothing seeps into ports or circuitry.
- ⚠Do not use acidic cleaners like vinegar or bleach based products on natural stone such as marble or granite, and skip abrasive powders on shiny or coated surfaces. Acid etches stone and abrasives scratch finishes permanently. When in doubt, test any product on a hidden corner first and wait a few minutes before committing to the whole surface.
- ⚠Store all cleaners in their original labeled bottles, closed and out of reach of children and pets. If you decant a concentrate into a spray bottle, label it clearly, since an unmarked bottle of diluted degreaser looks exactly like water to the next person who picks it up.
Frequently Asked Questions
What order actually saves the most time?
Clear the clutter, pretreat every soaking job at once, then dust from the ceiling down, then glass, then floors last. The move with the most leverage is batching your dwell time. Spray everything that needs to soak before you wipe anything, and let the chemistry work while you clean the next room instead of standing and waiting. The second biggest gain is never double handling a surface, so decide what touches each spot once and move on.
How long should a real deep clean take per room?
For an average home, plan on roughly 30 to 45 minutes per room the first time. Once you pretreat in batches and stop double handling surfaces, a bathroom can drop to about 20 minutes. Mine went from 45 to 22 minutes on the same room, timed twice, and the pretreating step accounted for most of that gap. Kitchens usually run longest because of the appliances, so budget extra there and less for a bedroom.
How often do I need to do this?
A full deep clean once a month is plenty for most homes, with a lighter wipe down weekly. Kitchens and bathrooms earn more frequent attention because grease and moisture build up faster there. Wiping the surfaces everyone touches is the one thing I do far more often, especially during cold and flu season, since it takes five minutes and pays back the most in actual household health.
Does a lemon in the microwave really clean it, or is that just a trick from the internet?
It genuinely works, but not the way people imply. The lemon does not scrub anything. The two minutes of steam softens dried splatter so it wipes off with almost no effort, and the lemon just leaves a fresh smell. If your microwave has thick baked on spots, run it three minutes and let the bowl sit inside another minute before you open the door so the steam keeps working. Plain water alone works too if you have no lemon.
What is the single best tool if I only buy one thing?
Flat weave microfiber cloths, and enough of them to have a clean one in hand for every stage. They lift dust dry, clean with almost no product when damp, and buff glass streak free without lint. Buy them in two colors so you can keep dirty zones and finishing zones separate, wash them without fabric softener, and they will outlast a drawer full of paper towels many times over.
You might also like
How to Deep Clean a Shower (10 Proven Methods)
I deep cleaned the same shower twice in one week once with my old routine and once with these ten methods applied in the right sequence. The difference wasn't even close. Here's what changed and the daily habit that eliminated most of my scrubbing for good.
30 Cleaning Myths You Need to Stop Believing
I believed most of these myths for years, and two of them left permanent marks on surfaces in my own house. This is the honest version of what I got wrong, why the popular advice fails, and the two safety myths that actually send people to the emergency room. I have kept the failures in here on purpose, because the mistakes taught me more than the wins did, and a myth is only dangerous while you still trust it.

15 Bathroom Cleaning Tips for a Hotel-Level Finish
I spent a few months trying to figure out why my bathroom could pass a white glove test and still not feel like a hotel bathroom. It turned out the shine is only half of it. The other half is odor control and a handful of edges nobody thinks to wipe. Here are the 15 things that actually got me there, including the one step that fixes most bathroom smell.