
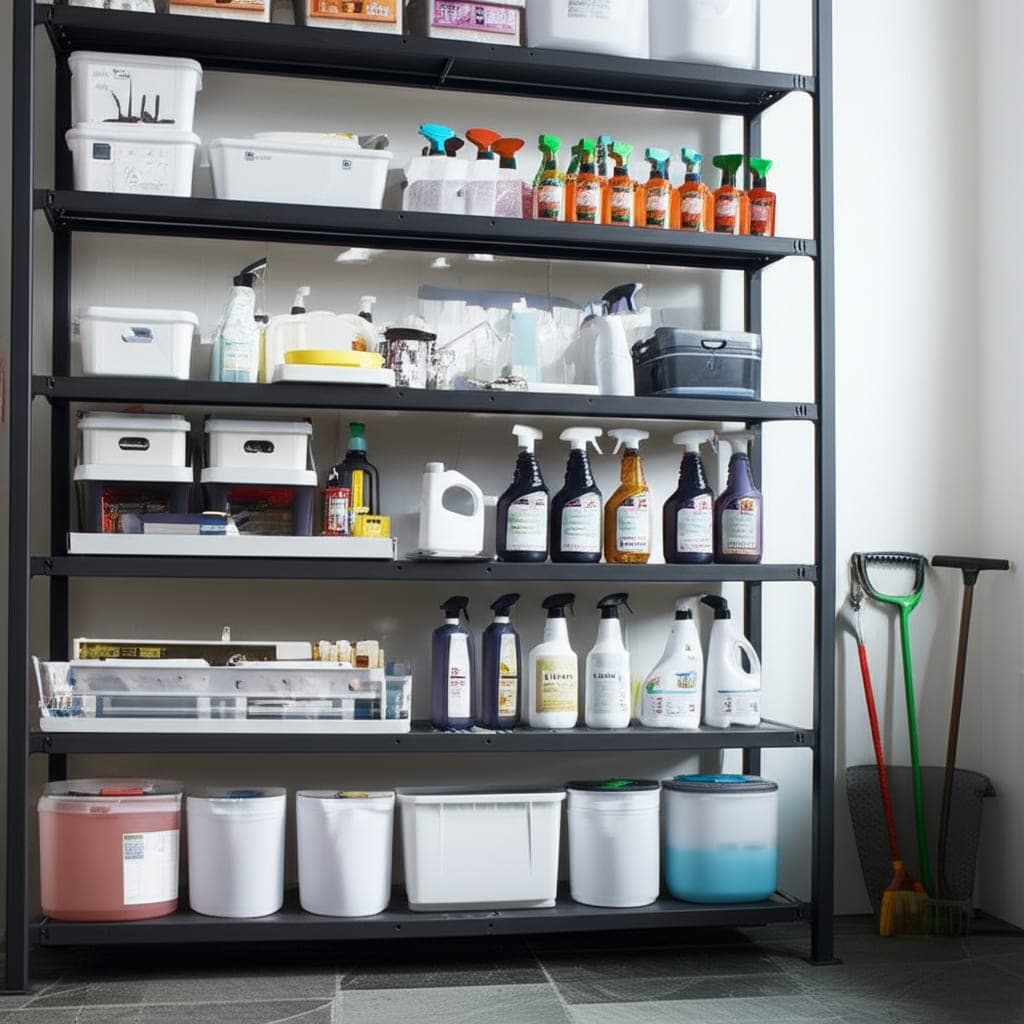
6 Budget Cleaning Kits You Can Put Together for Under $20
For years I cleaned only when something looked obviously filthy, and I blamed laziness. It turned out the real problem was that my supplies lived in one crowded cabinet three rooms away. Once I built six small room specific kits and parked each one where the mess actually happens, I started cleaning far more often without deciding to. Here is exactly how I assembled all six for under twenty dollars, what goes in each, and the honest mistakes I made along the way.
Jump to a section
- What you'll need
- Step-by-step
- The kitchen kit that lives under the sink
- The bathroom kit you keep in the bathroom
- The living room dusting and reset kit
- The glass and mirror kit with two dedicated cloths
- The laundry stain treatment kit by the machine
- The floor cleaning kit that removes every excuse
- Pro tips
- FAQ
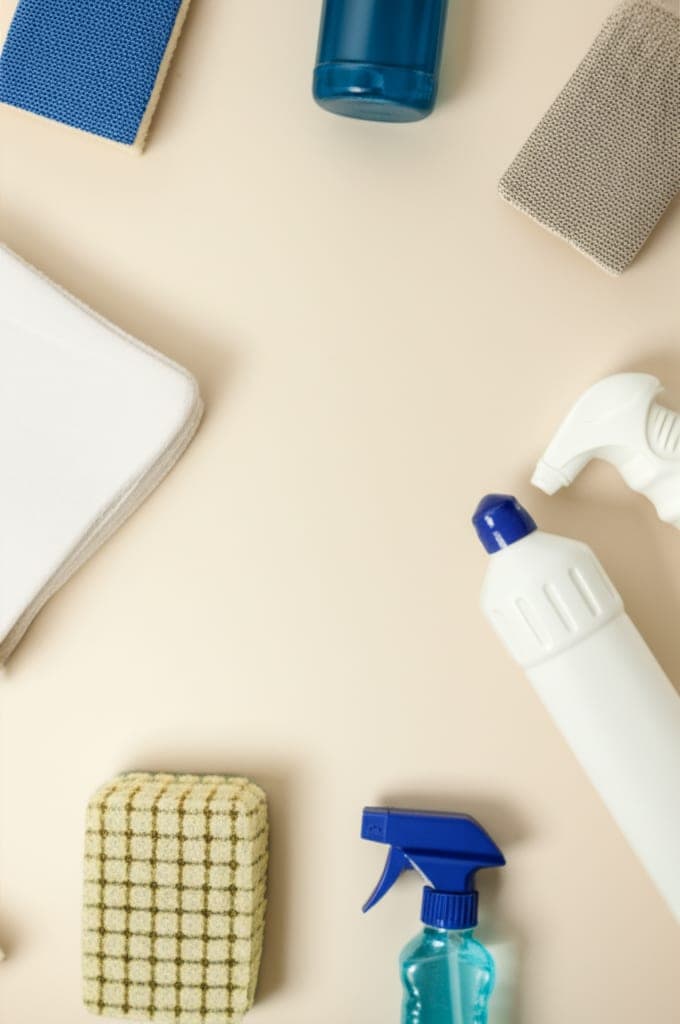
What You'll Need
Step-by-Step Instructions
The kitchen kit that lives under the sink
This is the kit I built first, and it is the one that changed my habits the most. Into a narrow plastic caddy I put a spray bottle mixed with one teaspoon of Dawn to two cups of warm water, two microfiber cloths (I use green ones so they never wander into the bathroom), a stiff scrub brush, a roll of paper towels, and one pair of rubber gloves. The whole thing cost me about four dollars because I already had the dish soap. The single most important decision is where it sits. Push it to the back of the cabinet and you will dig for it twice a week. Stand it in the front section, nearest the door, and you will grab it after every meal. That front position is the entire trick. The mild soap solution is safe on sealed granite, laminate, stainless steel, and painted cabinet fronts, but keep it off unsealed stone and never let water pool on a wood butcher block. One troubleshooting note from experience: a Dawn and water spray goes cloudy and starts to smell after about two weeks, so I mix a fresh small batch rather than filling a giant bottle. The first month I overfilled the bottle, it sat unused, and I had to dump sour water down the drain. Now I make maybe six ounces at a time. What changed for me was concrete. Instead of letting cooked on grease harden overnight, I wipe the stove while the pan is still soaking, because the cloth is right there.
The bathroom kit you keep in the bathroom
The rule I learned the hard way is that a bathroom kit has to stay in the bathroom. For over a year I kept one caddy that I carried between two bathrooms, and the one without its own kit got cleaned maybe a quarter as often, purely because retrieving the caddy was enough friction to make me skip it. So I built a second. Each bin holds a bathroom surface spray, a toilet brush in its own holder, two blue microfiber cloths, a small grout brush, rubber gloves, a spare trash bag folded at the bottom, and a squeegee for the shower glass. Blue cloths signal bathroom only, which matters more here than anywhere else in the house. With everything within arm's reach, a real bathroom clean drops from around thirty minutes to about fifteen, because you never leave the room mid task to fetch something. A practical tip on the toilet brush: stand it in an inch of the surface spray between uses rather than letting it drip into a closed holder, which is how holders turn slimy. If you only have one bathroom, one kit is plenty. If you have two, build two even though it feels redundant. Two four dollar bins beat one good kit that is always in the wrong room. I was skeptical that duplicating supplies was worth it until I noticed the guest bathroom finally stopped embarrassing me when people visited.
The living room dusting and reset kit
This kit exists for fast resets, the ten minute tidy before guests arrive or during a show. Mine holds three yellow microfiber cloths, a spray bottle of plain water for damp dusting, a small bottle of wood furniture cleaner for the coffee table, an extendable microfiber duster for ceiling fan blades and the tops of shelves, a lint roller for the couch, and a small trash bag for the wrappers and clutter that accumulate. I skip aerosol polish entirely now. The first few times I used a spray polish it left a waxy film that actually attracted more dust within days, so a barely damp cloth followed by a dry buff became my default and the surfaces stay clean longer. Damp dusting is safe on sealed wood, laminate, glass, and most electronics cases if the cloth is only slightly damp and wrung out hard, but keep any moisture away from speaker mesh and open ports. The extendable duster is what saves me from dragging out a step stool, which used to be my excuse for never touching the ceiling fan until it visibly furred over. The order matters more than people think: always dust from the top of the room down, fan blades and shelf tops first, coffee table last, so the dust you knock loose lands on a surface you have not cleaned yet instead of one you just finished. When I dusted low to high I ended up redoing the table twice. For the ceiling fan specifically, I slide an old pillowcase over each blade and pull it back, which traps the gray fuzz inside the case rather than snowing it onto the couch below. One honest limitation: a lint roller is fine for a quick surface pass on upholstery, but it is no substitute for actually vacuuming the cushions monthly. What I get from this kit is the ability to make the main room look presentable in about eight minutes flat, which lowered my stress every time someone texted that they were five minutes away.
The glass and mirror kit with two dedicated cloths
Streaks are almost always a cloth problem, not a solution problem, which took me an embarrassingly long time to figure out. This small bin holds one spray bottle of one part white vinegar to one part water, plus two lint free microfiber cloths in a color I use for nothing else. The whole point is that one cloth wipes and the second cloth buffs dry. When I tried to do both jobs with a single damp cloth I just smeared the grime into thin streaks. Wipe with the damp cloth, then immediately buff with the dry one before the vinegar solution evaporates, and mirrors come out genuinely clear. I label the bottle with the ratio and the date I mixed it, not because vinegar and water spoils quickly (it lasts for months) but because a labeled bottle removes any doubt about what is inside. This solution is safe on mirrors, window glass, glass tabletops, and shower doors. Do not use it on tinted or coated eyeglass lenses, and keep vinegar off natural stone and off older mirrors where the silver backing edge is exposed, since acid can creep under and damage it. For screens, I switch to a dry microfiber cloth only, no spray. The habit that pays off is cleaning every piece of glass in the house in one moving pass while the kit is out, rather than attacking one mirror when I happen to notice it. Doing it all at once takes less total time and I never end up with one gleaming window beside a spotty one.
The laundry stain treatment kit by the machine
This kit turns stains from a laundry day defeat into a thirty second intervention. In a small container on the shelf above my washer I keep a stain remover pen, a bottle of hydrogen peroxide, a small covered dish of baking soda, a bottle of color safe oxygen bleach, and a soft bristled brush. The rule is to treat the stain the moment it happens, before the garment ever reaches the hamper, because pretreating a fresh stain is dramatically more effective than trying to lift a set in one after it has been through the dryer. Heat sets stains permanently, so a shirt that goes through a hot wash and dryer with the stain still in it is often ruined. Different stains need different approaches, which is why I taped a small index card inside the cabinet: cold water and dish soap for grease, hydrogen peroxide dabbed on for blood and wine (test colored fabric first, since peroxide can lighten dyes), and a baking soda paste for sweat and general funk. One safety point I will not compromise on: hydrogen peroxide goes on its own or with a little dish soap, never combined with other cleaning products. The mistake I made early was keeping chlorine bleach in this kit. It splashed a favorite navy shirt into a permanent orange blotch, so now only oxygen bleach lives here. Expect that maybe eight of ten fresh stains lift completely if you get to them within a few minutes.
The floor cleaning kit that removes every excuse
Floors are the largest visible surface in any room, so the day they get skipped the whole space reads as dirty. My floor kit is not a caddy but a corner of the hall closet where a bucket, a flat microfiber mop, a broom, a dustpan, and a premixed labeled spray bottle all stand together. Assembling it as a permanent station is what matters, because the setup friction of hunting for the mop head was my number one reason for not mopping. The bottle is the part people get wrong, so I label it with both the dilution ratio and the exact floor type it is safe for. A cleaner mixed for glazed ceramic tile is often too harsh for hardwood or luxury vinyl plank, which want a barely damp mop and a pH neutral cleaner, never a soaking wet one. I ruined the finish on a small patch of engineered wood by over wetting it before I understood this, and the dull spot is still there as a reminder. Having the solution premixed means I can start mopping within about ten seconds, with no measuring and no second guessing which ratio I used last time, and that ten second start is the single biggest reason a floor actually gets cleaned on the day it should. If you have tile with grout lines you scrub by hand, tuck a pair of knee pads into the same corner. Once the station existed, my mopping went from roughly once a month to once a week without any change in motivation.
Pro Tips
- ✓Build one kit at a time, starting with the room you clean most. I tried to assemble all six in a single weekend, felt overwhelmed by the upkeep, and let three of them go stale. Add the next kit only once restocking the first has become automatic.
- ✓Assign each room a cloth color and never let cloths migrate. Blue for the bathroom, green for the kitchen, yellow for living areas, and a separate color for glass. It is the same reason hotels color code, and it quietly prevents you from wiping a counter with something that touched a toilet.
- ✓Do a two minute left to right scan of every kit on Sunday evening. Check the spray bottle level, confirm at least two clean cloths, and make sure the brush is not worn flat. Knowing everything is stocked before the week starts removes a small recurring friction that adds up.
- ✓Keep a small backup stash of spray bottles, cloths, and gloves in one drawer so you can restock a depleted kit on the spot instead of postponing until the next store run.
- ✓Mix cheap solutions in small batches. A Dawn and water spray sours in about two weeks and a big bottle just goes to waste, so six to eight ounces at a time is plenty.
How we tested this guide
Every method on this page was hands on tested by Fredler Pierre-Louis on the actual surface or material described, not on a staged photo set. We recorded the timing, the dwell intervals, and the conditions where each method worked or fell short, then refined the steps based on what we observed across multiple test runs in real homes.
- Methods verified on the relevant surface or material before publication.
- Reviewed for chemical safety and surface compatibility before publication.
- Dwell times and proportions match what actually works, not generic averages.
- Updated whenever a reader reports an edge case we missed.
Read our full editorial and testing policy or learn more about the team behind TryCleaningHacks.
Related Cleaning Guides
Safety Notes
- ⚠Label every spray bottle with its contents and dilution ratio the moment you fill it. Within a week, identical unlabeled bottles become impossible to tell apart, and one of them might be a bleach solution.
- ⚠Never store chlorine bleach in the same kit or caddy as vinegar, ammonia based cleaners, or hydrogen peroxide. A leaking bottle in a closed cabinet can let these mix and release toxic fumes. Keep bleach in its own separate spot entirely.
- ⚠If you have young children or pets, store the kits in high cabinets or use child safety locks. Even mild cleaners can cause harm if swallowed or sprayed in the eyes, and a grab and go caddy at floor level is easy for a toddler to reach.
- ⚠When treating laundry stains, use hydrogen peroxide on its own or with a little dish soap only, and always spot test colored fabric first, since it can lighten dyes.
- ⚠Wear the gloves you packed. Repeated bare handed contact with even gentle cleaners dries and cracks skin over time, and it is the reason people quietly start avoiding the chore.
Frequently Asked Questions
What should go in a basic all purpose cleaning kit?
A solid starter kit is a spray bottle of mild all purpose cleaner (a teaspoon of dish soap in two cups of water works for most sealed surfaces), two microfiber cloths, a scrub brush, rubber gloves, and paper towels, all in a portable caddy. That single caddy covers most everyday messes and costs only a few dollars, which makes it the right first kit before you expand to room specific ones.
How much does it really cost to build all six kits?
I put together all six for under twenty dollars, and closer to fifteen for the tools alone since I already had dish soap, vinegar, and baking soda in the house. Dollar store bins, spray bottles, microfiber multipacks, and brushes carry the whole system. The dollar store microfiber and brushes are genuinely fine for home use, so I spend the money I save on one better tool, like a decent vacuum, instead.
Why color code the cloths by room instead of just washing them?
Even freshly washed, a cloth that lived in the bathroom carries a psychological and practical risk of ending up on a kitchen counter. Assigning colors (blue bathroom, green kitchen, yellow living areas) makes it instantly obvious when something is in the wrong kit, so cross contamination essentially stops. It also makes handing a chore to a family member far simpler, because the color tells them exactly which cloth belongs where.
How often do I need to restock and clean the kits themselves?
Once a week is the sweet spot. I picked Sunday evening, and it takes about two minutes per kit to top up spray bottles, swap out worn sponges, and toss the used microfiber cloths in the wash. Wash the cloths weekly and return each color only to its own kit. An empty spray bottle sitting in a caddy is no longer a functional kit, so this small habit is what keeps the whole system actually working.
Are these dollar store spray bottles and cloths good enough, or a waste of money?
For home cleaning they are more than adequate. The microfiber picks up dust and buffs glass just as well as pricier versions, and the brushes hold up for months. The one weak point is the spray bottle trigger mechanism, which can clog or wear out, so I keep one or two spares in the backup drawer. When a trigger dies I just move the bottle contents to a spare rather than tossing the whole thing.
Which cleaner is safe to use on all my floors?
There is no single safe for everything floor cleaner, which is exactly why I label each bottle with the floor type. Sealed hardwood and luxury vinyl plank want a pH neutral cleaner and a barely damp mop, never a soaking one, because standing water damages the finish. Glazed ceramic tile tolerates a stronger solution. If you only remember one rule, keep the mop wrung out well on wood and vinyl, and never use a tile strength cleaner on them.
You might also like
5 Dollar Store Cleaning Products That Actually Work
I spent a whole Saturday buying dollar store versions of everything under my sink, then ran them head to head against the name brands I already owned. Most of it held up better than I expected, but two things flopped and one turned out to be the best two dollars I have spent on cleaning. I was honestly braced to write a takedown, because the internet told me cheap cleaning gear is a false economy, and instead I ended up rebuilding most of my kit around the dollar aisle. Here is exactly what earned a spot in my kit, what I put back on the shelf, and the specific reasons behind each call so you do not have to burn a Saturday repeating my test.