
How to Clean Almost Anything With Vinegar (8 Methods)
I have cleaned with a single jug of white vinegar for about nine years now, and along the way I ruined a marble windowsill and pitted a cheap chrome faucet learning where it actually belongs. Here are the eight jobs it genuinely does better than the pricey sprays under my sink, with the exact soak times and quantities that made the difference. I am not going to pretend it is magic. It is a weak acid, roughly 5 percent acetic acid and 95 percent water, and once you understand that one fact you can predict where it will shine and where it will let you down. It dissolves mineral scale and cuts light grease beautifully, and it does almost nothing for disinfecting or for baked on carbon. I have organized these from the single best use to the honest warning at the end, and I am blunt about the two places it flat out failed me so you do not repeat my mistakes.
Jump to a section
What You'll Need
Step-by-Step Instructions
Descale the showerhead overnight in a bag
This is the one job where nothing under my sink beats vinegar, so I lead with it. Pour enough undiluted white vinegar into a gallon zip bag to cover the showerhead face, usually about one to one and a half cups, slip the bag up over the head, and hold it in place with a sturdy rubber band around the neck. Leave it overnight, at least eight hours. My hard water had cut my morning pressure to a sad dribble, and after one overnight soak the flow came back to full. In the morning, pull the bag, scrub the nozzle holes with an old toothbrush, then run hot water for one full minute to flush the loosened grit out of the internal passages. I learned the hard way that a soak of only 15 minutes barely touches heavy scale, because contact time is the whole trick here. Two cautions from experience. If your showerhead is finished in oil rubbed bronze, brushed nickel, or has a plated or lacquered coating, do not do the full overnight soak, since prolonged acid contact can cloud or strip that finish. For those, cap the soak at 30 minutes and repeat on another night if needed. If the flow is still uneven after one soak, a few nozzle jets are usually still plugged, so press and rub each rubber nozzle tip with your thumb while running the water, which pops most of the remaining scale free. Expect the loosened deposits to look like fine white or tan sand in the tub. Rinse it down so it does not settle back into the finish.
Mix a spray that leaves glass and mirrors clear
Fill a spray bottle with equal parts white vinegar and warm water, so a 16 ounce bottle takes 8 ounces of each. Here is the part most listicles skip. Do not spray it on the glass. Spray it onto the microfiber cloth instead, then wipe in a single direction so you can see where you have already been. Spraying the glass directly is what leaves those maddening streaks near the edges, because the solution pools and dries at different rates. On my bathroom mirror this pulls off toothpaste flecks and hairspray haze that the blue store spray used to smear around. For a greasy kitchen window over the stove, I add one single drop of dish soap to the bottle, no more, since extra soap is exactly what causes streaking. The batch keeps for months, so I make a full bottle at a time and label it. A real troubleshooting note. If the glass still looks hazy after it dries, the culprit is almost always a waxy residue left by an old commercial cleaner, not the vinegar. Do one pass with the vinegar spray, then buff with a second dry microfiber cloth that has never touched dish soap or fabric softener, and the film lifts. Newer cars and some eyeglasses have anti glare or anti reflective coatings, so keep vinegar off those and use plain water there instead. Expect a clear finish with no drag on the cloth. If the cloth squeaks slightly as you buff, that is the sound of clean, residue free glass.
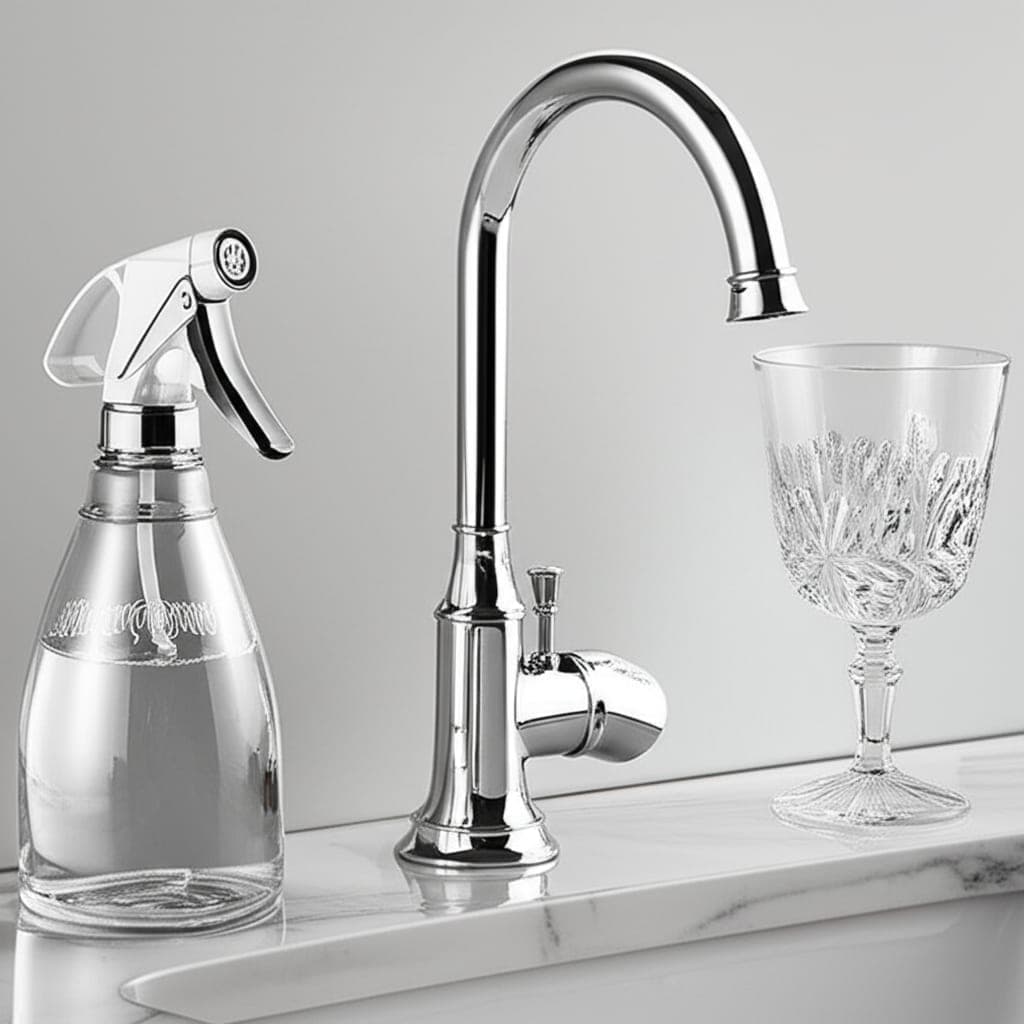
Wrap mineral scale off faucets
Soak a folded paper towel or a rag in undiluted vinegar, drape it over the faucet and the base, and leave it exactly 15 minutes. No longer. The acid softens the chalky lime crust so it wipes off instead of needing a scraper that would scratch the finish. The spot everyone misses is the seam where the faucet base meets the sink deck, so dip that old toothbrush in vinegar and work the seam for 20 seconds. For the aerator screen, unscrew the tip and soak just that little piece in a shot glass of vinegar for 30 minutes to clear the mineral clog that weakens your flow, then rinse and reassemble. Buff everything dry with a cloth so no acid lingers on the metal. If a stubborn ring of scale survives the first wrap, do a second 15 minute wrap rather than leaving the first one on for an hour, because a long unattended soak is what pits cheap chrome, as I explain in step eight. On a mixed material fixture, watch the plastic or rubber gasket at the aerator, which vinegar can make brittle over many repeat soaks, so do this a few times a year rather than weekly. Please read step eight before you decide to walk away and leave any fixture soaking longer. Expect the faucet to go from cloudy and spotted to genuinely reflective. The difference is most obvious right at that base seam, which is usually the dirtiest part and the part guests actually see.
Steam clean the microwave with no scrubbing
Half fill a microwave safe bowl with equal parts vinegar and water, about one cup of each, drop in a wooden toothpick so the water does not superheat and erupt when you move it, and run it on high for three minutes. Then leave the door shut for two more minutes so the trapped steam keeps softening the mess. When I open it, the crusted spaghetti splatter on the ceiling of the cavity wipes away with one damp cloth and no scrubbing at all. The bowl and the turntable will be genuinely hot, so I lift the bowl with a towel and set it on a trivet, not a bare counter. This also clears the smell of reheated fish or burnt popcorn that otherwise hangs around for days. It is the laziest cleaning win in my kitchen. A couple of specifics that matter. If your splatters are old and truly baked on, add a full minute to the heating time and let the door stay shut for four minutes instead of two, since the softening comes almost entirely from steam contact time. Wipe the door and the inner window last, because grease drips down there and you want your final pass to be on the dirtiest surface. If a faint sour smell lingers afterward, leave the door open for ten minutes to air it out and it disappears as it dries. Never run this in a bowl with a metallic trim or a gold rim, and never in a takeout container, both of which can arc or melt. Expect a wipe clean cavity and a neutral smell in under ten minutes total.
Deodorize a slow, smelly kitchen drain
Tip half a cup of baking soda straight down the drain, then pour in one cup of vinegar that you have warmed in the microwave for about 30 seconds. It will foam up like a science fair volcano, which is exactly the point, because that fizzing action scrubs the inside walls of the pipe where odor causing gunk clings. Let it sit and work for 10 minutes, then chase it with a full kettle of boiling water to rinse the loosened grease and residue down the pipe. This is a maintenance trick for odor and light buildup, not a fix for a fully clogged drain, and I want to be honest that if water is standing in the sink you need a plunger or a drain snake, not this. It is far gentler on older pipes than caustic drain crystals, which generate heat and can damage aging joints. I run it once a month and the sour sink smell never comes back. One important warning. Do not pour boiling water down a drain if your pipes are PVC and the trap is old or already loose, because very hot water can soften certain plastic joints, so use hot tap water in that case instead. Also do this only when the drain is otherwise clear, since foaming baking soda on top of a real clog just sits there. If the smell is coming from a garbage disposal rather than the drain, run a few ice cubes and a lemon wedge through it after this treatment. Expect a fresher smelling sink and slightly faster drainage, not a miracle unclog.
Lift tea and coffee stains out of mugs
My travel mug had a brown tannin ring I assumed was permanent after years of daily coffee. Fill the stained mug with equal parts vinegar and warm water, right up to the ring, and let it sit for one hour. Most of the ring will wipe away with a sponge after that, because acetic acid loosens the tannin film that plain dish soap slides right over. For a stubborn ring that survives the soak, make a loose paste of baking soda moistened with a little vinegar, smear it on the stain, and rub gently with your thumb or a soft cloth. The mild grit plus the acid took an old, set stain out of my mug in under a minute of rubbing. It is safe on ceramic, porcelain, and glass, and it left the printed logo on the outside of my mug untouched. A few caveats worth knowing. Do not use the baking soda paste on the inside of an insulated stainless steel tumbler if it has a colored or coated interior, since the grit can scratch it, so stick to the plain soak for those. For a French press or a glass carafe with brown staining, the same one hour soak works, and you can add a spoon of baking soda to fizz it if the glass is stained near the bottom where you cannot reach. Rinse thoroughly afterward so your next cup does not taste faintly of vinegar. Expect the ceramic to come back to its original white and the coffee to taste cleaner, since that tannin film subtly flavors every drink after a while.
Run a freshening cycle through the dishwasher
Once a month I pull out the bottom filter, rinse it under hot water to clear the trapped food, and drop it back in, because a clogged filter is the single most common reason glasses come out dirty. Then I stand a cup of white vinegar upright in a bowl on the top rack and run a hot cycle with nothing else inside. The vinegar loosens the greasy film and mineral scale that collects on the spray arms and inner walls, which is what causes that cloudy gray haze on glassware. After I started doing this, my glasses stopped coming out looking foggy. Do not pour the vinegar loose into the bottom of the tub, because it just drains out in the first few seconds and does nothing. A real distinction to understand. If your glasses have a permanent, chalky cloudiness that does not wipe off even when dry, that is etching, which is physical damage from soft water plus too much detergent, and no amount of vinegar will reverse it, so cut back your detergent dose going forward. If the haze does rub away or improves after the cycle, it was mineral film and vinegar handles it. Some manufacturers, notably a few dishwasher brands with rubber gaskets and seals, advise against regular vinegar cycles because the acid can degrade rubber over time, so check your manual, and if in doubt use a dedicated dishwasher cleaner tablet instead. Expect clearer glassware and a fresher smelling machine. Wipe the door gasket and the filter housing while you are in there, since food and slime hide in those folds.
Know the two surfaces vinegar quietly ruins
I am ending on the honest part because I paid for these lessons with my own money. First, natural stone. Vinegar permanently etches marble, travertine, granite, and limestone, leaving a dull cloudy patch that only a pro can sand and repolish out. I dulled a marble sill before I understood this, and the mark is still there. Test any mystery stone by putting one drop of vinegar on a hidden spot for 30 seconds, and if it fizzes, foams, or leaves a dull ring at all, keep vinegar far away and use a pH neutral stone cleaner instead. This warning also covers stone tile floors, stone backsplashes, and honed concrete counters, which react the same way. Second, cheap chrome, plated finishes, and unlacquered brass. A quick wrap of 15 minutes is fine, but an overnight soak pitted a chrome fixture of mine, leaving tiny permanent craters, and prolonged acid can strip the protective lacquer off brass for good, after which it tarnishes fast. A few more to remember from the safety notes. Vinegar dissolves the seasoning off cast iron, eats into raw aluminum pans and pots, and strips wax and finish off waxed or oiled wood, so keep it off all of those. It can also dull the sealant on some hardwood floors, which is why steam and vinegar floor recipes ruin more finishes than they clean. Vinegar is a genuine workhorse, and I reach for it constantly, but it is an acid, and acid does not know when to stop. When in doubt, test a hidden spot first and keep the contact time short.
Pro Tips
- ✓Buy plain distilled white vinegar at 5 percent acidity. The fancy cleaning vinegar at 6 percent costs more and is not worth it for anything on this list, and the higher acidity only raises the risk on borderline surfaces.
- ✓For any soak, warming the vinegar in the microwave for 20 to 30 seconds first makes it work noticeably faster on scale and grease, because a warm acid reacts more quickly than a cold one.
- ✓Keep one microfiber cloth as your dedicated buffing cloth and never let dish soap or fabric softener touch it. A dry, residue free cloth is what gives you a clear, streakless finish on glass and chrome.
- ✓The sour vinegar smell fully evaporates as the surface dries, usually within a few minutes, so it does not linger the way people fear. If you still dislike it, add a strip of citrus peel to the bottle and let it steep for a week for a fresher scent.
- ✓Do not store your vinegar spray in a bottle with a metal pump or metal parts, since the acid slowly corrodes them. Use an all plastic sprayer and it will last for years.
- ✓Label the bottle with what is in it and the date you mixed it. A 50/50 vinegar and water spray is stable for months, but labeling stops anyone from grabbing it for a stone counter by mistake.
- ✓When you are unsure whether a surface can take vinegar, always run the one drop, 30 second test on a hidden corner first. Thirty seconds of testing has saved me from far more expensive mistakes than the marble sill I already ruined.
How we tested this guide
Every method on this page was hands on tested by Fredler Pierre-Louis on the actual surface or material described, not on a staged photo set. We recorded the timing, the dwell intervals, and the conditions where each method worked or fell short, then refined the steps based on what we observed across multiple test runs in real homes.
- Methods verified on the relevant surface or material before publication.
- Reviewed for chemical safety and surface compatibility before publication.
- Dwell times and proportions match what actually works, not generic averages.
- Updated whenever a reader reports an edge case we missed.
Read our full editorial and testing policy or learn more about the team behind TryCleaningHacks.
Related Cleaning Guides
Safety Notes
- ⚠Never mix vinegar with bleach, or use it on a surface you just bleached without rinsing thoroughly first. The two react to release toxic chlorine gas, which is dangerous even in small amounts in a closed bathroom.
- ⚠Do not combine vinegar with hydrogen peroxide in the same bottle either. The mix can form peracetic acid, which is irritating to skin, eyes, and lungs. Use each one on its own, rinsing the surface between them.
- ⚠Do not mix vinegar with ammonia or with any ammonia based glass cleaner. The combination produces irritating fumes and cancels out the cleaning power of both, so use only one product at a time.
- ⚠Keep vinegar off natural stone (marble, granite, travertine, limestone), cast iron, raw aluminum, and waxed or oiled wood. It etches stone, dissolves the seasoning on cast iron, corrodes aluminum, and strips wax and lacquer.
- ⚠Vinegar is not a reliable disinfectant at household strength. When you clean food prep surfaces or wipe up after raw meat, use a product actually labeled as a sanitizer rather than trusting vinegar to kill germs.
- ⚠Wear dish gloves during long soaks and when scrubbing, since repeated contact with even a weak acid can dry out and irritate your skin, especially around the nails and any small cuts.
- ⚠Do not pour boiling water down old or loose PVC drain joints, as very hot water can soften certain plastics. Use hot tap water instead when your pipes are aging plastic.
Frequently Asked Questions
Does vinegar actually disinfect and kill germs?
Not dependably. At normal household strength and typical wipe times, vinegar knocks back some bacteria but does not reliably kill the full range you care about on a cutting board. It is a great degreaser and descaler, but for real sanitizing on food surfaces I use a product labeled as a sanitizer instead, and I never count on vinegar after handling raw chicken.
Why does my glass streak when I clean it with vinegar?
Usually one of two reasons. Either you sprayed the solution straight onto the glass, which leaves drying marks at the edges, or your cloth still has old soap or fabric softener residue in it. Spray onto a clean microfiber cloth that has no soap in it instead of onto the glass, then buff dry with a second dry cloth, and the streaks disappear. A leftover waxy film from an old commercial cleaner can also haze the glass on the first pass, so a second buff clears it.
How long should I really soak a showerhead in vinegar?
For light buildup, an hour can do it, but for hard water scale that has cut your pressure, soak it overnight for at least eight hours. Contact time is what dissolves stubborn mineral crust. A quick dip of 15 minutes barely makes a dent on anything heavy, which is the mistake I made the first time. The exception is a coated finish like oil rubbed bronze or brushed nickel, where you should cap the soak at 30 minutes to protect the plating.
Can I use vinegar on my granite or marble countertops?
No. Vinegar permanently etches natural stone, including granite, marble, travertine, and limestone, leaving a dull cloudy mark that only a professional can repolish out. Use a pH neutral stone cleaner instead. If you are not sure whether a surface is real stone, test one drop of vinegar on a hidden spot for 30 seconds, and if it fizzes or dulls at all, keep vinegar away from it.
Will vinegar damage my washing machine or dishwasher seals?
It can over time. The acid slowly degrades rubber gaskets and seals with repeated use, and a few appliance brands specifically advise against regular vinegar cycles for that reason. Check your manual. A monthly freshening cycle is usually fine for most machines, but if yours warns against it, use a dedicated appliance cleaner tablet instead and reserve vinegar for occasional use.
Is there a difference between white vinegar and cleaning vinegar?
Only the acidity. Regular white distilled vinegar is about 5 percent acetic acid, while cleaning vinegar is around 6 percent. For every job on this list the 5 percent kind works fine and costs less. The slightly stronger cleaning vinegar is not worth the extra money and only raises the risk of damage on borderline surfaces, so I stick with the plain grocery store jug.
How do I get rid of the vinegar smell after cleaning?
You mostly do not have to, because the smell evaporates on its own as the surface dries, usually within a few minutes. If a room still smells sour, open a window or leave an appliance door open for ten minutes to air it out. To prevent the smell in the first place, you can steep citrus peels in your vinegar bottle for a week, which gives the solution a fresher scent without weakening it.
You might also like

How to Remove Hard Water Stains From Glass, Faucets, and Tiles
I moved into a home with twelve years of untreated hard water stains on shower glass, faucets, and tiles. After testing every popular method on the same heavily mineralized surfaces over six weeks, the ten approaches in this guide are ranked by what actually worked on real long term buildup, not just fresh deposits. The vinegar wrap method removed mineral crust that fifteen minute sprays could not touch, the warm vinegar trick dissolved stains roughly twice as fast as cold vinegar on the same surfaces, and one simple prevention habit reduced new staining by approximately eighty percent in the first month. Here is the exact step by step that restores foggy shower glass, calcified faucets, and stained bathroom tiles to a like new finish, plus the surfaces where vinegar will permanently etch and damage the material instead of cleaning it.
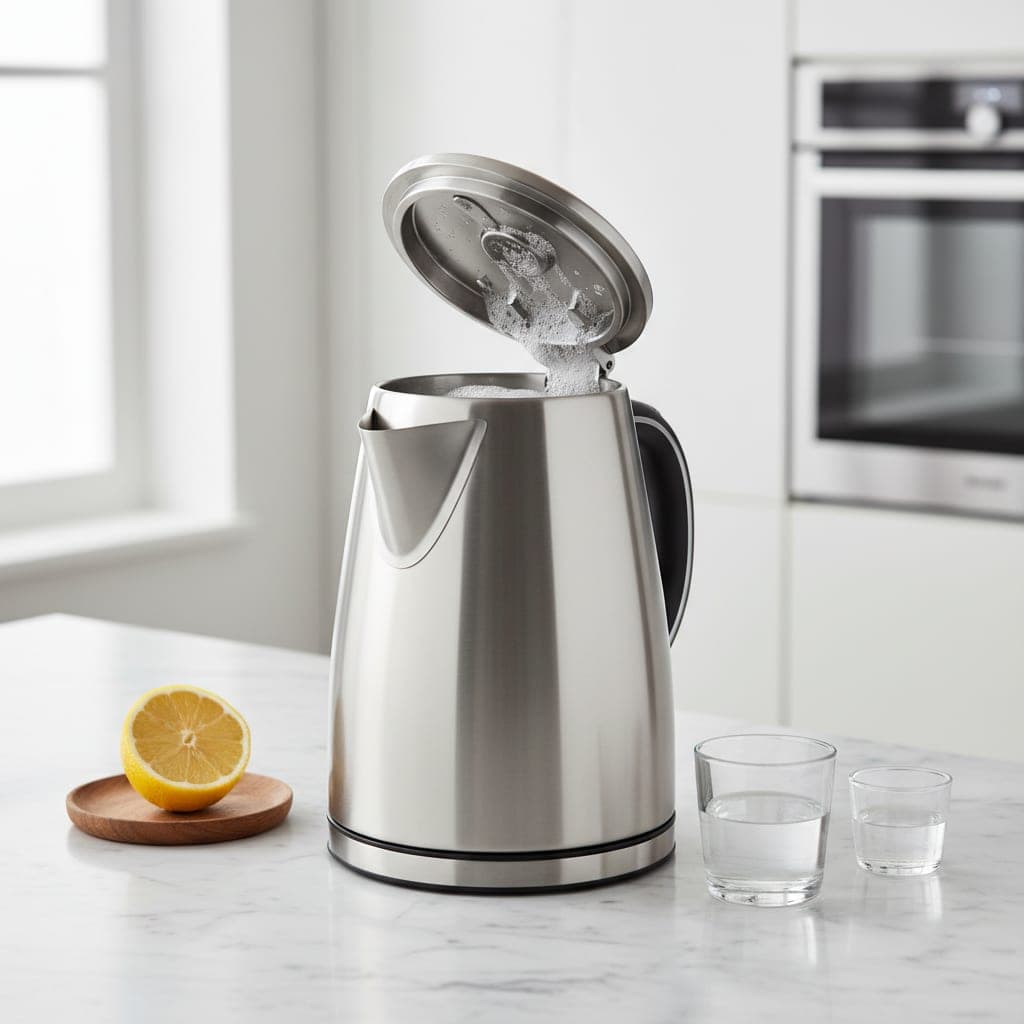
How to Remove Limescale from a Kettle
The white chalky flakes floating in my morning tea were the reason I finally dealt with the limescale that had been building for months. After testing vinegar, lemon juice, and commercial descalers across two identical kettles, one method worked faster and left no aftertaste. Here is exactly what I did and the sequence that matters.